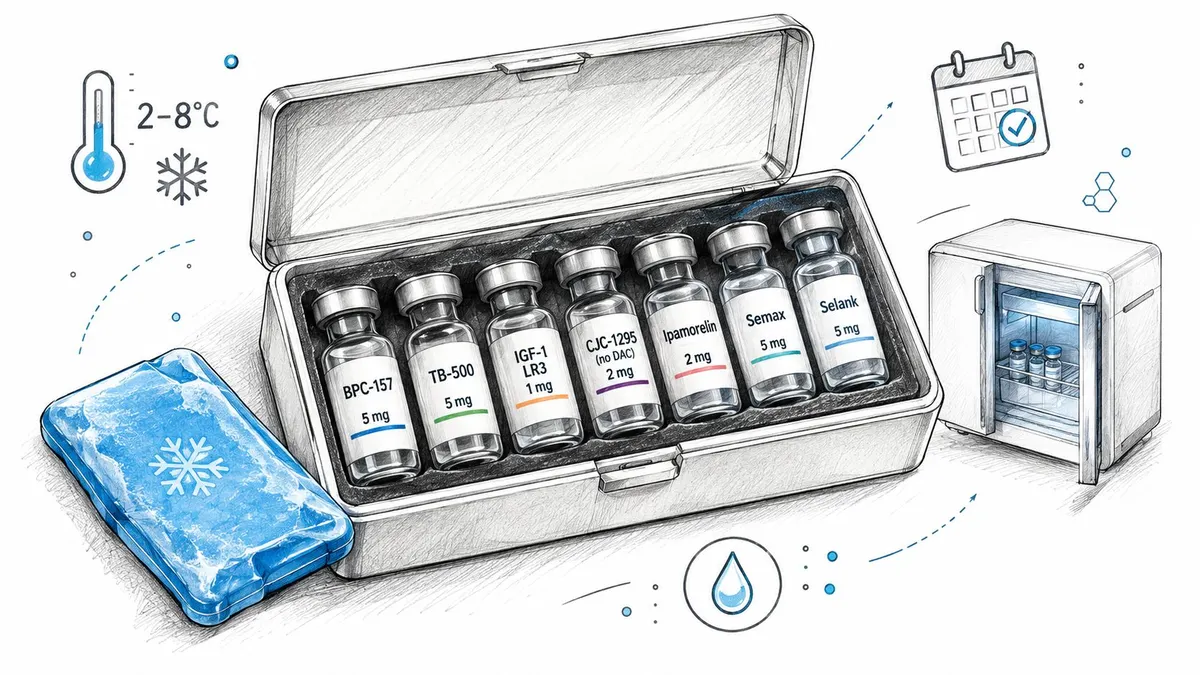
You’re standing in front of a half-empty freezer drawer, trying to find one vial without disturbing the others. Loose containers roll against frozen packs, a plastic bag has split at the corner, and one label is peeling badly enough that you can’t immediately confirm what’s inside. The storage problem isn’t really a lack of accessories. It’s a lack of control over sealing, temperature, moisture, handling, and identification.
A peptide vial storage container should protect the vial without creating new risks. The original sealed vial is the primary storage system. A rack, pouch, box, or travel case only organizes and cushions it. The practical question is not which container looks most specialized, but whether it keeps the vial upright, dry, dark, identifiable, and at the appropriate temperature with as little unnecessary handling as possible.
Table of Contents
- Why Your Storage Container Matters More Than You Think
- What a Peptide Vial Storage Container Is Actually Made Of
- Matching the Container to the Vial’s Current State
- Handling Vials In and Out of Cold Storage
- Labeling and Organizing Multiple Vials
- Transporting Vials Without Breaking the Chain
- Simple Habits That Keep Vials Stable Long Term
Why Your Storage Container Matters More Than You Think
A vial can remain physically intact while its contents become less reliable. Moisture can enter through a compromised closure, repeated warming can create condensation, and frost or debris can make the stopper harder to clean before access. These problems are easy to overlook because the container still looks like a container.
For sealed, lyophilized peptides, the original closure is especially important. Type I borosilicate glass is widely used because it provides strong inertness and barrier protection against moisture and oxygen. Packaging guidance commonly pairs that glass body with a rubber stopper and aluminum seal, creating a closed system rather than relying on a secondary box to protect the contents. Guidance on custom peptide vial construction and storage describes the vial as both a primary container and part of the stability strategy.
The real cost of careless storage
A crowded freezer encourages rushed decisions. You open the door several times, move unrelated vials aside, leave the target vial on the bench while searching for labels, then return it without checking whether the seal or exterior has collected condensation. A soft pouch may stop a vial from rolling, but it won’t correct a damaged crimp or protect a vial that has been repeatedly opened in humid air.
The most useful secondary container does three jobs:
- Organization: It keeps vials upright, separated, and easy to retrieve.
- Protection: It reduces impact, light exposure, and contact with frost or dirty surfaces.
- Consistency: It helps you return each vial to the same temperature zone without prolonged searching.
Practical rule: Buy an organizer to reduce handling, not to compensate for poor handling.
The same principle applies outside the freezer. If you’re comparing bins, racks, cases, or mobile storage options, a guide to finding the right storage container can help you assess capacity, access, and physical protection. For peptide work, those features matter only after the primary vial closure is sound.
A reliable setup usually starts with the original sealed vial, a dry and dark environment, a stable temperature, and a label that remains readable. For liquid peptides, common guidance specifies refrigeration at 2–8°C. For long-term preservation, frozen storage at −20°C is commonly recommended, subject to the product’s own instructions. The container supports that workflow. It doesn’t replace it.
What a Peptide Vial Storage Container Is Actually Made Of
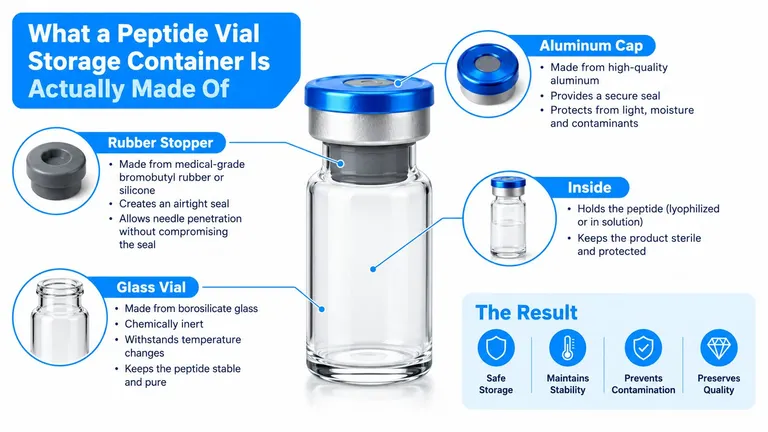
The vial is a layered system, not a glass tube with a decorative cap. Each part has a separate job, and the overall barrier works only when the parts remain seated and undamaged.
Glass provides the stable primary body
The borosilicate glass vial holds the peptide and presents a chemically resistant surface. It’s widely treated as the standard material for peptide vials because it offers inertness and barrier protection against moisture and oxygen. Glass also makes visual inspection straightforward. You can check whether a lyophilized cake or powder appears normal and, after reconstitution, look for visible changes such as cloudiness or particles.
Glass isn’t indestructible. A vial can chip at the neck, crack after impact, or break when packed carelessly against a frozen pack. A rigid rack or padded case protects the glass from those mechanical stresses, but it can’t repair a damaged vial.
The stopper forms the access barrier
The rubber stopper sits beneath the aluminum seal and provides the puncturable access point. Its job is to keep the container closed between withdrawals while limiting moisture, oxygen, and contamination from entering. Once a vial has been punctured, the stopper and the handling technique become more important than the outer plastic cap.
Inspect the stopper before returning the vial to storage. Look for tearing, visible distortion, debris, or a puncture pattern that suggests the access point has been compromised. Don’t treat a secondary pouch as protection against a stopper that no longer seals properly.
The crimp and cap hold the system together
The aluminum crimp seal compresses the stopper against the vial neck and provides visible evidence of tampering. It should sit evenly around the neck. A loose, bent, cracked, or lifted crimp deserves investigation before the vial goes back into a cold zone.
The plastic flip-off cap protects the top of the closure before first use. It’s useful for cleanliness and tamper evidence, but it isn’t the main moisture barrier. The crimped closure beneath it does the important containment work.
For identification, use a label system that matches the environment. If you need materials that resist solvents, moisture, or cold handling, an Evright Industrial label guide offers useful background on chemical-resistant labeling materials.
A bin, rack, or pouch can protect the outside of this assembly. It cannot fix a failing primary closure. Spend money on secondary gear only when it makes the intact vial easier to keep stable and easier to find.
Matching the Container to the Vial’s Current State
The correct container depends on what the vial contains now. A sealed dry peptide, a reconstituted solution, and a vial moving between locations face different risks, so placing all three in the same organizer and using the same temperature routine is a mistake.
| Vial State | Temperature Range | Container Priority | Key Risk to Manage |
|---|---|---|---|
| Sealed, lyophilized peptide | −20°C for long-term storage, or 2–8°C for refrigerated storage | Dry, dark, protective organization around the original vial | Moisture entering after premature opening or poor equilibration |
| Reconstituted peptide | Product-specific cold storage, commonly 2–8°C for liquid peptides | Upright, clean, low-movement storage with clear dating | Contamination, solution instability, and repeated temperature changes |
| Vial in transit | A temperature-controlled environment matched to the journey | Insulation, cushioning, condensation control, and secure positioning | Temperature excursions, impact, and movement at the stopper or crimp |
A sealed lyophilized vial generally gives you the most flexibility, but that doesn’t mean it belongs loose in a drawer. Long-term guidance commonly places lyophilized peptides at −20°C or colder, in a dry and dark environment. The original sealed vial remains the key barrier, while the secondary container should limit movement and exposure during retrieval. Neutral peptide storage guidance emphasizes that storage decisions are product-specific and depend on whether the peptide is dry, reconstituted, or being moved between temperatures.
Reconstituted material needs more disciplined organization. Keep it separate from unopened stock so you don’t repeatedly warm the entire inventory when you only need one active vial. Follow the product’s instructions for whether the solution may be frozen. The verified guidance is not universal on this point, so don’t assume that a freezer is automatically safer once the peptide is in solution.
Transit adds a different requirement. The container has to buffer temperature changes and prevent the vial from striking hard surfaces. A padded, insulated secondary case is useful for short moves, while longer shipments require packaging designed for the expected cold-chain conditions rather than a casual lunch bag.
The best container is the one that holds the chosen temperature steadily without forcing repeated door openings, light exposure, or mechanical shock.
Handling Vials In and Out of Cold Storage
Most preventable problems happen during the transition between temperatures. A cold vial taken from a freezer and opened immediately can encounter humid air while its glass and closure are still cold. That creates a condensation risk precisely when the container is about to be accessed.
Keep the vial sealed inside its secondary pouch or closed container while it equilibrates. For lyophilized peptides, guidance commonly recommends allowing the original sealed vial to reach room temperature before opening and avoiding access while condensation is present. The purpose is simple, moisture control. Lyophilized peptide handling guidance also stresses the importance of an intact container-closure system and a dry, dark storage environment.
A controlled retrieval sequence
- Prepare the workspace first. Have the label, sterile supplies, and disposal materials ready before removing the vial. This reduces the time the vial spends outside its normal zone.
- Remove only what you need. Leave the rest of the inventory undisturbed.
- Keep the vial closed while it warms. Use the sealed secondary pouch as a moisture and handling barrier.
- Inspect the exterior. Once the surface is dry, check the glass, stopper, crimp, and label.
- Access the vial cleanly. Follow the applicable laboratory or clinical procedure for stopper disinfection and sterile handling.
- Return or discard according to the product protocol. Don’t improvise a storage period because the solution still looks clear.
Don’t use hot water, a heater, or aggressive rubbing to speed thawing. A dry cloth can remove surface moisture after equilibration, but it shouldn’t be used to force the vial through a temperature transition. Repeated freeze-thaw cycles are also a poor default for reconstituted material. If multiple withdrawals are planned, a qualified workflow may use smaller aliquots, provided the transfer process is appropriate and the product instructions permit it.
Condensation is a handling signal. If the vial is wet, pause before opening it.
A good refrigerator matters as much as the case around the vial. If you’re evaluating equipment for a lab or dedicated storage area, you can browse laboratory refrigerator models with attention to temperature consistency, shelving, access, and monitoring. For practical guidance focused on liquid material, review how to store reconstituted peptides.
Labeling and Organizing Multiple Vials
A vial that can’t be identified quickly is a storage failure, even if its temperature has been perfect. Frost, condensation, freezer drawers, and repeated door movement punish weak labels, so the label needs to survive the environment rather than merely look neat on the day it’s applied.
Put essential identity information on the vial or its immediate protective label. That normally includes the peptide identity, concentration where applicable, reconstitution date for liquid material, lot or batch identifier, and the relevant expiration or discard information. Use the secondary box for workflow information such as protocol pairing, owner, location, or retrieval priority.
Choose the label for the environment
| Approach | Frost Resistance | Information Capacity | Retrieval Speed |
|---|---|---|---|
| Direct marker on glass | Variable, depends on the marker and surface preparation | Low | Fast when legible |
| Cryogenic label | High when correctly applied | Moderate | Fast and durable |
| Printed tape or freezer label | Moderate to high, depending on adhesive and condensation | High | Fast if the print remains clear |
Plain household labels often peel when applied to a cold or damp surface. A marker can work for short-term identification, but it may smear or fade after repeated handling. Cryogenic labels or purpose-made freezer tape are better choices when the vial will remain in a freezer or move between cold zones.
Organization should reflect how you retrieve material. Grouping by peptide makes identity checks easier. Grouping by reconstitution status keeps active liquid vials away from dry stock. Grouping by intended use date can support rotation, but it creates more risk if labels are incomplete. For most personal setups, separating active reconstituted vials from sealed lyophilized stock is the clearest starting point.
Use a rigid tray or small bin with fixed positions. A position map can tell you where each vial belongs, so you don’t shift the entire drawer to retrieve one item. Keep the bin opaque if light protection matters, and use dividers to prevent glass from striking glass.
A paper log beside the storage zone is still useful. Record receipt, reconstitution, movement, and discard information as part of the handling event, not later from memory. For a more structured approach to dates, use a system that supports expiration date tracking, but keep the physical vial label authoritative when the two records disagree.
Transporting Vials Without Breaking the Chain
A single vial in a backpack and a group of liquid vials sent by courier need different secondary containers. The primary closure remains the same, but the transport container must manage both thermal buffering and mechanical protection.
Consider a short move from a refrigerator to a workplace. A vial placed loose in a gym bag can roll, hit a water bottle, and warm unevenly. A rigid plastic case with a fitted slot keeps it upright, while a suitable cold pack can buffer the surrounding temperature. The case should stop direct impacts without pressing against the stopper or crimp. A sealed inner pouch also helps keep condensation away from the vial surface.
A courier shipment is more demanding. Multiple reconstituted vials need separation, cushioning, insulation, and a sealed inner layer that protects against condensation from the cooling material. Bubble wrap or molded inserts can absorb shocks, but they shouldn’t be the only barrier. An insulated shipper with cold packs or phase-change material is more appropriate when the journey requires controlled temperature rather than simple padding.
Three secondary-container trade-offs
- Hard cases: Offer the strongest impact protection and keep vials upright, but they’re heavier and can take up more space.
- Soft pouches: Weigh less and fit easily into a personal bag, but they provide less protection against crushing and loose objects.
- Insulated shippers: Provide better thermal buffering for longer journeys, but they’re less convenient for repeated daily retrieval and may need careful pack-out planning.
The container shouldn’t allow a frozen pack to press directly against the vial unless the product protocol specifically supports that condition. Separate the cooling element from the glass with an insulating layer, and secure every vial so it can’t migrate during handling.
Schedule shipments to avoid unnecessary weekend delays. Choose the coldest practical transit window, confirm the receiving location can accept the package promptly, and don’t leave a temperature-sensitive parcel in a vehicle or exposed delivery area.
A secondary container earns its place when it prevents a specific failure. If it only adds bulk, branding, or compartments without improving temperature control, cushioning, or retrieval, it’s probably an accessory rather than a meaningful storage upgrade.
Simple Habits That Keep Vials Stable Long Term
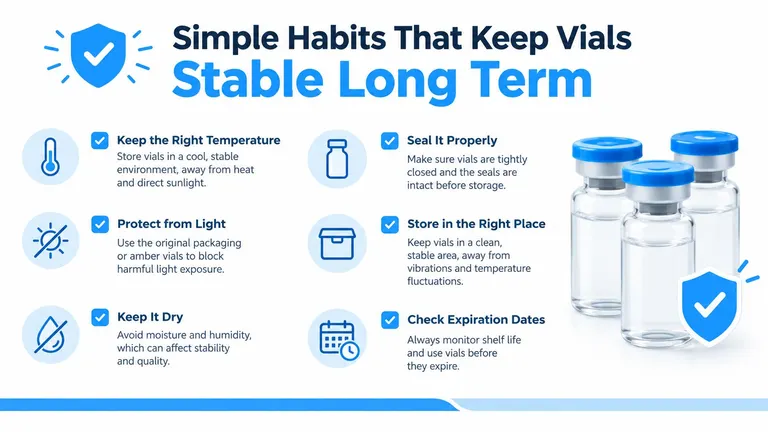
The most dependable setup is usually less elaborate than people expect. It consists of an intact original vial, a consistent temperature zone, a clear label, controlled access, and records that match what is physically in storage.
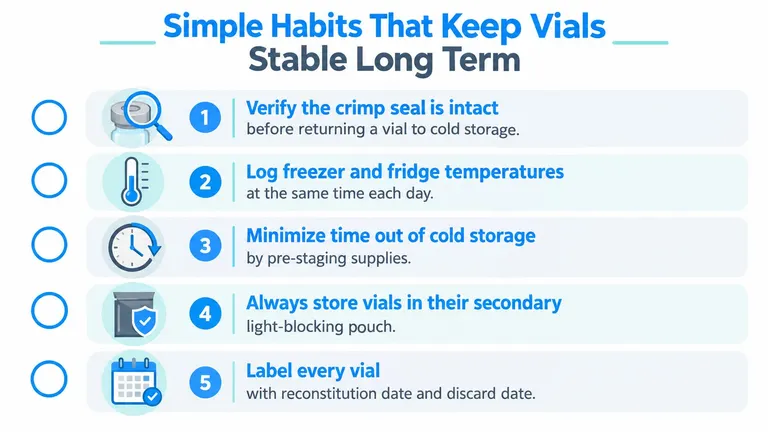
Start with a seal check every time a vial returns to the cold zone. Look at the glass, stopper, crimp, and cap. If the crimp is loose or damaged, the stopper is visibly compromised, or the label no longer identifies the contents, stop treating that vial as normal inventory until the issue is resolved.
Use a separate location for each vial state. Keep sealed dry stock in its designated freezer or refrigerator area. Keep active liquid vials in a clearly marked working bin. This arrangement reduces unnecessary warming and makes it harder to confuse a vial that has been accessed with one that remains unopened.
The working checklist
- Protect the closure: Keep the original sealed vial closed until it has equilibrated and you’re ready to access it.
- Stabilize the temperature: Choose the appropriate zone for the product state and avoid casual movement between freezer, refrigerator, and bench.
- Limit handling: Pre-stage supplies and remove only the vial required for the immediate task.
- Record the event: Log receipt, reconstitution, withdrawals, temperature concerns, and discard information.
- Inspect before use: Check for cloudiness, particles, unusual appearance, damaged closures, or any other change that requires investigation.
A written record becomes especially valuable when several vials look identical. It can show which vial was reconstituted first, which one has been moved, and which one should be reviewed before the next retrieval. A practical overview of peptide storage can complement that recordkeeping, but it shouldn’t replace the product’s own instructions or professional guidance.
The original vial-closure system remains the core container. Organizers, pouches, racks, and shippers are supporting infrastructure. They’re worthwhile when they keep the vial upright, shielded, separated, and easy to retrieve, but no accessory can compensate for a broken seal, unstable temperature, repeated moisture exposure, or unreliable records.
The right setup is therefore boring by design. Verify the closure, maintain the temperature, label clearly, minimize handling, and write down what happened while the details are fresh.
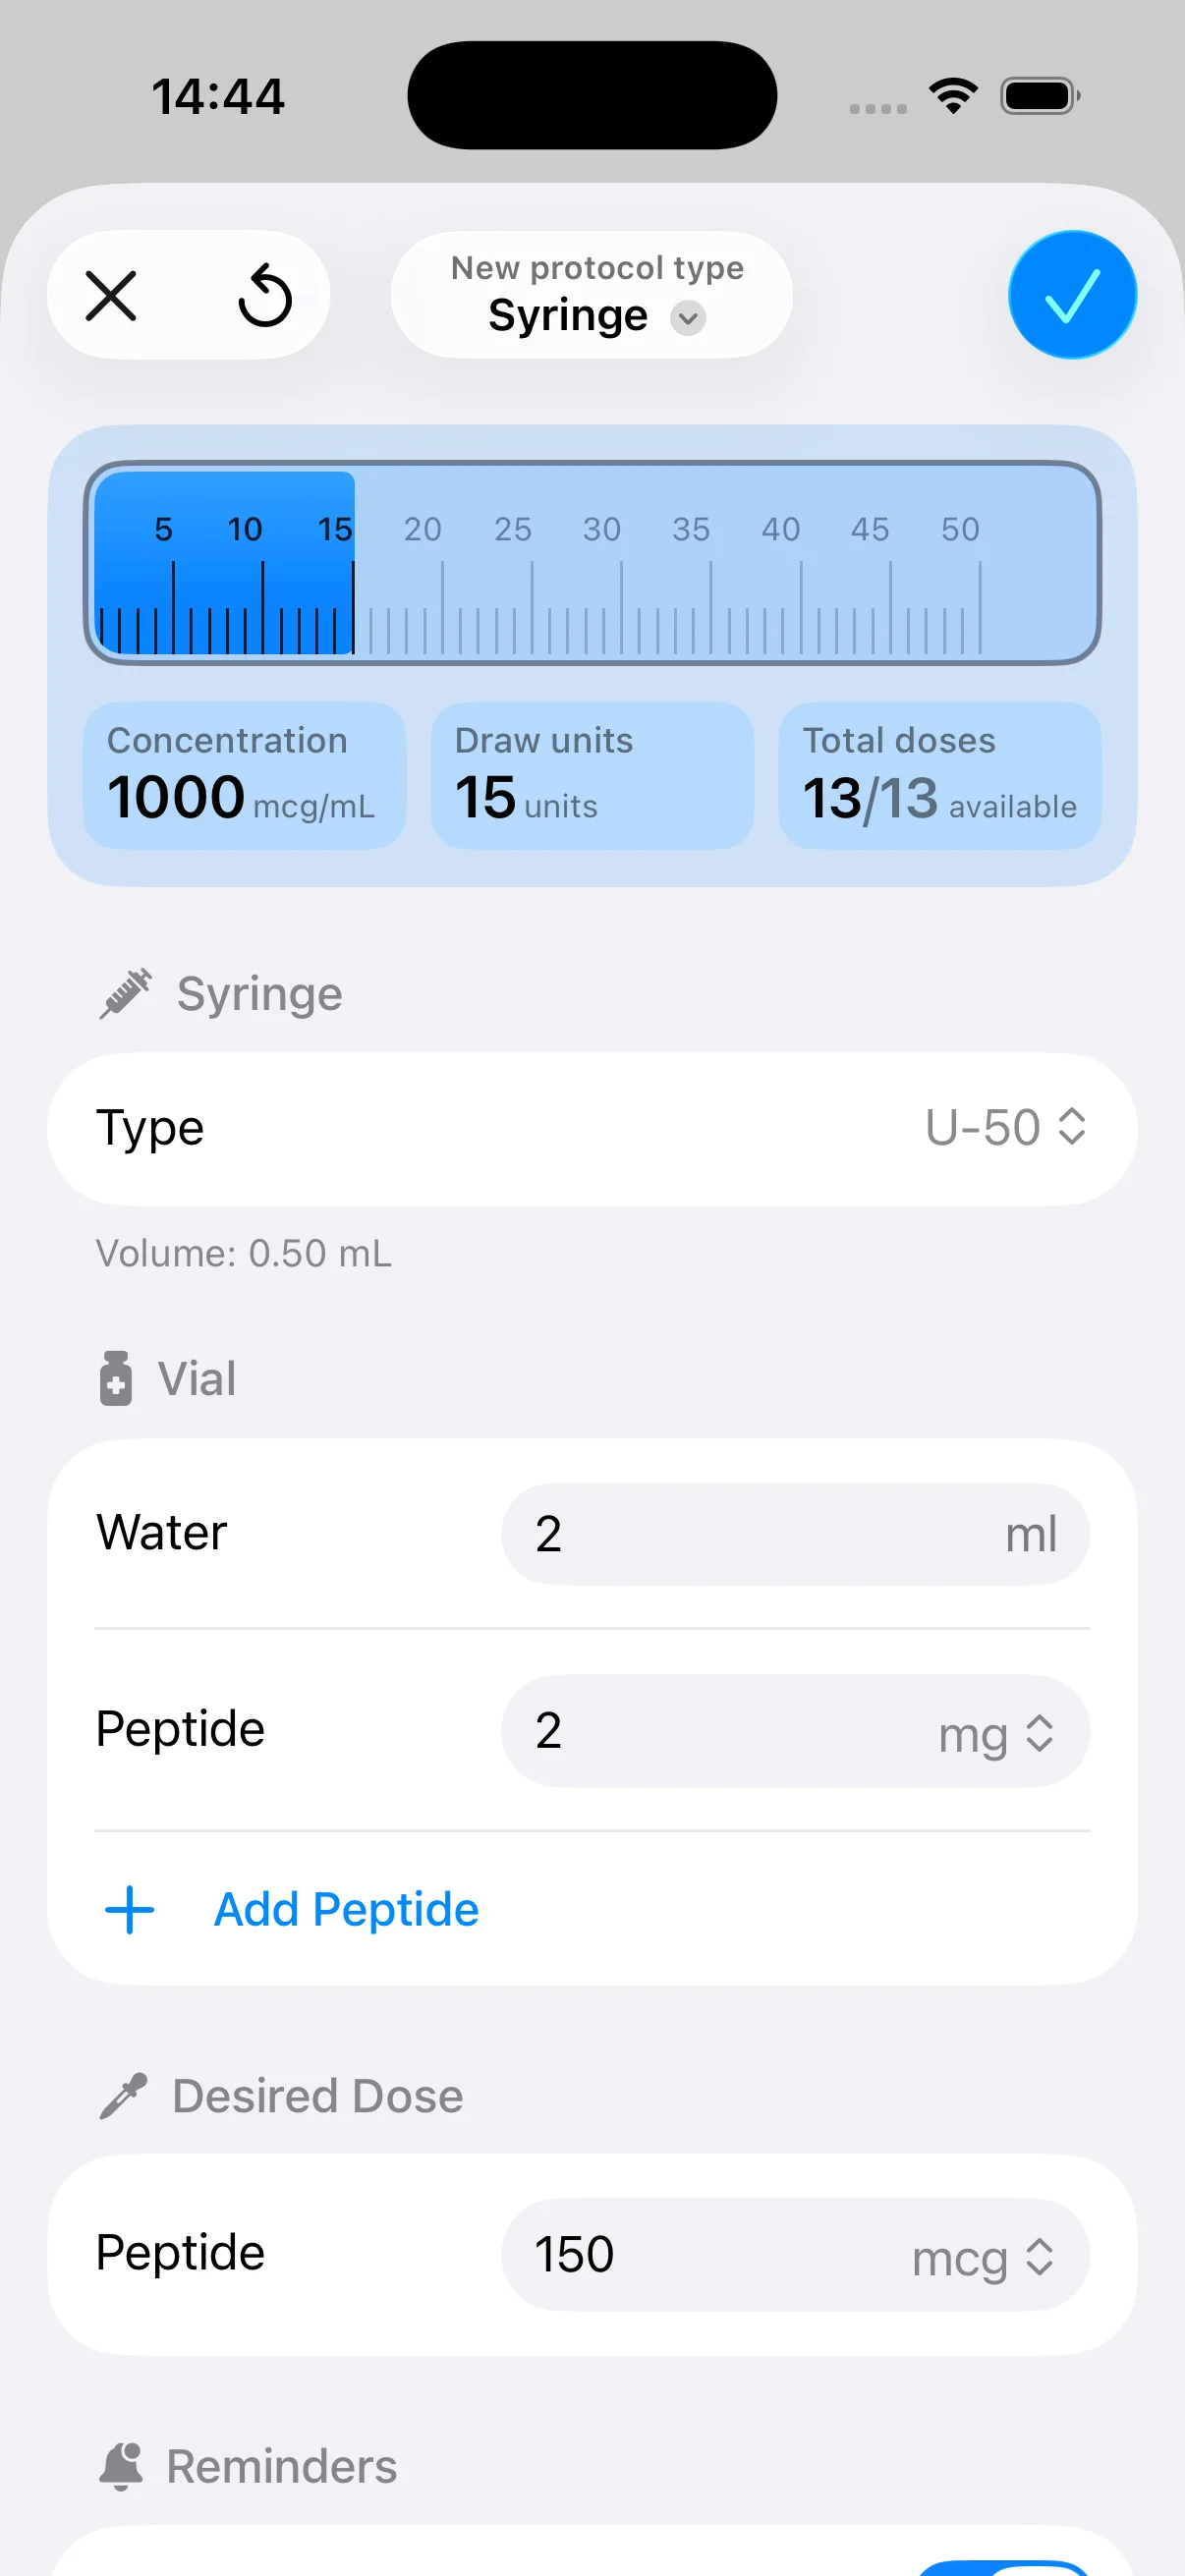
PepFlow helps organize peptide dosing schedules, vial configurations, reminders, and dose history so storage records can stay connected to the routine that follows. Visit PepFlow to see how its calculator, protocol planning, and tracking tools can support a more consistent workflow.