You’ve just added diluent to a fresh vial, the powder has cleared, and now the significant risks begin. Most storage mistakes happen after reconstitution, not before. A peptide that was stable as a dry powder becomes much more vulnerable once it’s in solution, so the difference between a useful vial and a wasted one often comes down to a few handling choices made in the next five minutes.
If you’re trying to figure out how to store reconstituted peptides without treating your kitchen like a full research lab, the good news is that the core protocol is simple. The challenge is consistency. Clean prep, small aliquots, stable cold storage, and zero casual refreezing matter more than fancy gear. Get those right, and you protect potency, reduce waste, and keep your schedule accurate.
Table of Contents
- Why Proper Peptide Storage is Non-Negotiable
- The Foundation of Sterile Handling and Preparation
- The Core Protocol Aliquoting for Potency Preservation
- Temperature Rules Refrigerator vs Freezer Storage
- Managing Freeze-Thaw Cycles to Avoid Degradation
- Advanced Storage Tips and Recognizing Degradation
- Essential Safety Disclaimers and Final Checklist
Why Proper Peptide Storage is Non-Negotiable
You reconstitute a vial on Sunday, use part of it during the week, and by the next round everything still looks clear. That visual check is not enough. Reconstituted peptides can degrade without turning cloudy or changing color, so a vial may appear usable while stability is already slipping.
Once a peptide is in solution, storage errors stop being minor housekeeping problems. They affect the quality of the material, the consistency of each measured dose, and your ability to tell whether a result came from the compound, your calculations, or preventable breakdown during storage.
For beginners, errors in storage are common. They spend time choosing the peptide and figuring out the reconstitution math, then treat storage like an afterthought. In practice, the opposite approach works better. As soon as liquid is added, storage conditions become one of the main factors controlling how reliable that vial remains.
Three problems show up quickly:
- You waste material: A poorly stored vial can lose usable life long before it is empty.
- Your dose assumptions get weaker: If the peptide has degraded, the number you calculated on day one may no longer match what the vial is delivering later.
- You make bad adjustments: Users often change volume, timing, or protocol when the underlying problem is temperature exposure, contamination, or repeated handling.
That last point matters more than many people expect. If a vial sat out too long, got warmed and cooled repeatedly, or was opened over and over, the resulting inconsistency can look like a dosing mistake. It can also lead people to overcorrect.
Storage is part of the protocol.
That is especially true outside a formal lab. At home, people are working with kitchen refrigerators, shared freezers, variable room temperatures, and distractions that do not exist at a bench. The practical fix is to borrow lab habits and pair them with simple tracking tools. Label the reconstitution date, concentration, diluent, and target discard date. Use a calculator or app to log aliquots and timing so you are not relying on memory two weeks later. If you need a refresher on what bacteriostatic water is used for, sort that out before mixing, because the diluent choice affects how you plan storage and use.
Clean handling supports good storage too. If your prep area or tools are contaminated, refrigeration only slows the problem. It does not fix it. For a practical setup guide, review how to sterilize medical equipment before you mix anything.
The main rule is simple. Do not judge a reconstituted peptide by appearance alone, and do not separate storage from preparation. Treat both as one continuous process if you want the vial to stay predictable.
The Foundation of Sterile Handling and Preparation
A peptide can lose reliability before it ever reaches storage. The usual failure point is preparation. A rushed reconstitution on a cluttered counter, a wet alcohol pad, a stopper touched twice, or a vial left open while someone checks a calculator can undo the benefit of refrigeration.

Start with a controlled workspace
Use one clean surface and keep only the items you need on it. Wash hands, wipe the work area, and swab vial stoppers with alcohol. Let the alcohol dry fully before piercing. If you need a practical refresher on surface and tool prep, review how to sterilize medical equipment.
At home, this matters even more than people expect. Kitchen counters, bathroom shelves, and shared refrigerators create more opportunities for contamination than a bench in a controlled lab. The fix is simple. Borrow lab habits and reduce variables. Set out the syringe, diluent, alcohol pads, labels, and storage tubes before opening anything.
Keep the needle path clean. Do not touch the shaft. Do not set a capped syringe on a dirty surface and assume the cap solved the problem. Use fresh sterile syringes and needles for preparation.
Choose the diluent before you mix
Diluent choice affects both handling and storage planning. For multi-use setups, many people choose bacteriostatic water because it is more practical for repeated access than plain sterile water. If you want the basics before mixing, read this overview of what bacteriostatic water is used for.
This is also where home prep benefits from better tracking. Decide the final concentration before reconstitution, write it down, and label the vial immediately after mixing. A notes app, spreadsheet, or peptide calculator is not overkill here. It prevents the common mistake of preparing first and trying to reconstruct the math later from memory.
Reconstitute with as little stress as possible
Add the diluent slowly against the inside wall of the vial. That keeps the powder from being hit directly and reduces foaming. Once the liquid is in, swirl or roll the vial gently until the contents dissolve. Do not shake it.
Gentle mixing is not cosmetic. Foam traps air, rough agitation increases handling stress, and both make the solution harder to inspect clearly. If the vial does not dissolve right away, give it time instead of forcing it.
A few habits make a noticeable difference during prep:
- Let alcohol evaporate before puncture. Wet surfaces increase the chance of carrying residue through the stopper.
- Work in one uninterrupted session. Repeated pauses leave tools and open materials exposed longer than necessary.
- Label immediately after mixing. Include concentration, diluent, date, and your planned discard window.
- Record the prep in a phone note or app. That single step helps bridge lab discipline with real at-home use, especially if more than one aliquot or vial is involved.
Short-term cold storage may be workable for some reconstituted peptides, but only if the solution was prepared cleanly and handled consistently from the start. As noted earlier, colder temperatures and fewer freeze-thaw events generally protect stability better. Preparation errors still shorten the useful window.
A refrigerated vial prepared carelessly is still a compromised vial.
The Core Protocol Aliquoting for Potency Preservation
If there’s one habit that separates careful handling from wasteful handling, it’s aliquoting. Leaving the entire reconstituted batch in one vial seems convenient until you realize every use means more air exposure, more stopper punctures, and one more thaw cycle on the whole supply.

Calculate the aliquot before you touch the vial
The cleanest aliquoting session is the one you planned before opening anything. Decide how much volume belongs in each tube based on your intended single use or daily use amount. Don’t improvise this part mid-transfer.
For anyone who wants to avoid hand-calculation mistakes, a dedicated peptide calculator can help convert the target amount into a practical volume before prep starts. That’s useful because aliquoting works best when each tube already matches a real use case.
I recommend thinking in retrieval units, not in total vial volume. In practice, that means asking, “How much should one thaw give me?” instead of “How many tubes can I make?”
How to aliquot without contaminating the batch
Use sterile polypropylene microtubes or similarly appropriate small storage containers. Keep them labeled before filling if possible. The goal is to transfer once, cap once, freeze once.
A disciplined sequence works well:
- Draw with purpose: Pull only the amount needed for the next aliquot, not a rough estimate.
- Minimize headspace: Don’t leave large air gaps in the storage tube if you can avoid it.
- Cap immediately: Open tubes one at a time instead of lining up several uncapped.
- Label everything: Include peptide ID, concentration, and date of reconstitution.
Lab practice translates well to at-home use. You don’t need industrial infrastructure. You need a repeatable routine, clean surfaces, and accurate labels.
GenScript’s peptide handling guidance states that aliquoting into single-use volumes can reduce degradation by 80 to 90% compared with single-vial storage, and some sequences can lose up to 50 to 70% of bioactivity after three freeze-thaw cycles. Those points are laid out in GenScript’s peptide storage and handling recommendations.
That’s the practical reason to aliquot. Not because it sounds professional, but because it removes the biggest source of preventable damage.
Here’s a quick visual overview of handling flow before freezing:
What good aliquots look like
A good aliquot is boring. It’s the exact volume you need, in a clean tube, clearly labeled, with no need to refreeze leftovers.
Poor aliquots usually fail in one of three ways:
| Aliquot problem | What it causes | Better approach |
|---|---|---|
| Oversized tube | Leftover solution after thawing | Match each aliquot to one use window |
| Missing label | Guesswork and expired stock use | Label at fill time, not later |
| Shared multi-use freezer vial | Repeated warming and puncture cycles | Freeze multiple small single-use portions |
Field note: The best aliquot size is the smallest one that still fits your real routine comfortably.
Many people overcomplicate this. They buy the right peptide, use the right diluent, then sabotage the batch by treating one vial like a daily-use bottle. If you want storage to work, divide the risk.
Temperature Rules Refrigerator vs Freezer Storage
A common storage mistake happens after reconstitution goes well. The peptide is mixed cleanly, labeled, and then parked in whatever cold space is easiest to reach. That choice often decides how long the solution stays usable.
Refrigerator storage and freezer storage serve different jobs. Use the refrigerator for an active aliquot you expect to finish soon. Use the freezer for anything held in reserve. If you treat both options as interchangeable, you shorten the useful life of the solution without noticing it right away.
When the refrigerator makes sense
A refrigerator is suitable for short holding periods, usually for a small working vial that will be used within days, not weeks. Store it at 2 to 8°C in the main body of the fridge, not in the door. The door warms and cools every time it opens, and those temperature swings add avoidable stress.
Light and condensation matter here too. Keep the tube capped tightly, upright, and inside a secondary container or opaque bag so it is not exposed every time the fridge is opened. In home setups, I recommend using a small digital fridge thermometer and checking the actual range for a few days before trusting the shelf. Many consumer refrigerators run warmer than the display suggests.
When the freezer is the better choice
Freezing is the default choice for reconstituted peptide stock that will not be used promptly. A stable freezer gives you a better chance of preserving the solution, especially if the material has already been divided into single-use or low-use portions.
Avoid frost-free freezers if you have another option. Their defrost cycles create repeated temperature movement inside the compartment, even when the contents still look fully frozen. Lab users already account for this, but home users often miss it because the freezer feels cold enough. Sensitive biologics respond poorly to that kind of inconsistency. The same cold-chain principle appears in these vaccine storage and handling guidelines.
Here is the practical comparison:
| Storage Condition | Temperature | Estimated Shelf Life |
|---|---|---|
| Refrigerator | 2 to 8°C | 1 to 2 weeks for many peptides |
| Freezer | -20°C | 3 to 4 months when properly aliquoted |
| Ultra-low freezer | -80°C | Up to 1 year when properly aliquoted |
Treat those timeframes as working ranges, not promises. Peptide sequence, solvent, sterility, and handling quality all affect real stability. If you are using a home freezer rather than a lab-grade unit, stay conservative and log the reconstitution date, concentration, storage location, and planned discard date. A simple spreadsheet or dose calculator app is often enough to prevent avoidable errors.
A few temperature rules keep decisions simple:
- Refrigerate only what you are actively using: Keep the working vial small.
- Freeze the rest immediately: Reserve stock lasts longer when it stays undisturbed.
- Choose stability over convenience: A harder-to-reach shelf is better than a frequently warmed one.
- Track dates and concentrations clearly: Good labeling prevents accidental overstorage.
- Protect from light and moisture: Cold storage helps, but poor container handling still causes loss.
Reliable storage usually looks boring on purpose. The best setup is the one that holds a steady temperature, keeps records clean, and removes guesswork when you reach for the next vial.
Managing Freeze-Thaw Cycles to Avoid Degradation
You reconstitute a peptide carefully, label the vial, and put it in the freezer. A few days later, you pull it out for a small dose, return the rest to the freezer, and repeat that routine through the week. That pattern is one of the fastest ways to lose potency without noticing it.

Why thawing causes real stress
A freeze-thaw cycle changes more than temperature. As ice forms, the remaining liquid becomes more concentrated, which can push the peptide into less stable conditions for pH, salt balance, and solubility. On thawing, that stress does not always reverse cleanly. Some sequences aggregate, some adsorb to the vial surface more readily, and some lose activity even though the solution still looks clear.
Sensitive peptides are hit hardest. Sequences with oxidation-prone residues or generally fragile behavior in solution should get the fewest temperature transitions possible. If you know a product is not going to be used soon, keeping more of it in freeze-dried peptide form until needed is often the safer choice.
Visual inspection helps, but it is not enough. A vial can look normal and still perform worse after repeated freezing and thawing.
The handling routine that actually works
Use one aliquot for one thaw event. That is the rule.
In practice, the safest routine looks like this:
- Remove only the amount you plan to use. Leave backup aliquots frozen and undisturbed.
- Thaw in the refrigerator or in your hand briefly if the volume is very small and use is immediate. Avoid warm water, direct sun, or a hot room.
- Mix gently after thawing. A light swirl is enough. Aggressive shaking can add foaming and surface stress.
- Record the thaw time and date. A phone note, spreadsheet, or peptide calculator app makes this easy at home and removes guesswork later.
- Treat leftovers as short-term working material, not long-term stock. If there is any doubt about stability or sterility after thawing, discard it.
I would rather lose a small leftover aliquot than risk using material that has been cycled several times. In a lab, that trade-off protects data quality. At home, it protects consistency and keeps dosing calculations tied to material that has not been repeatedly stressed.
The main mistake is trying to save convenience by refreezing a partially used vial. Aliquoting only does its job if each tube goes through that freeze-thaw transition once, then gets used or discarded.
Advanced Storage Tips and Recognizing Degradation
Not all peptides tolerate storage the same way. Generic advice is useful for baseline handling, but sequence details often decide whether a solution is forgiving or fragile.
Sequence matters more than generic advice
Peptides containing Cys, Met, Trp, Asn, or Gln tend to degrade faster because those residues are more vulnerable to oxidation or deamidation. DripDok’s storage guide highlights that sequence-dependent risk is often missed in broad consumer advice, especially when people assume every peptide can sit in solution for the same length of time under refrigeration, as explained in DripDok’s peptide storage overview.

That leads to a practical rule. The more oxidation-prone or deamidation-prone the sequence, the less comfortable you should be with long solution storage. If the peptide is especially sensitive, keeping more of your supply in freeze-dried peptide form until needed is often the cleaner strategy.
What to inspect before every use
You don’t need advanced instrumentation to catch obvious warning signs. You do need the habit of looking carefully every time.
Watch for:
- Cloudiness: A previously clear solution that turns hazy may be aggregating.
- Color change: Any yellowing, browning, or unexpected tint deserves suspicion.
- Visible particles: Floating material or settled fragments can indicate instability or contamination.
- Unexpected film on the glass or tube: This can suggest precipitation or adsorption problems.
Labeling also deserves more respect than it gets. Every aliquot should carry the peptide name or ID, concentration, reconstitution date, and any note that helps you distinguish active stock from reserve stock. Without that, people end up relying on memory, which is how old aliquots remain in rotation unnoticed too long.
A practical system is to group aliquots physically by date and use the oldest acceptable stock first. Even at home, that small bit of inventory discipline prevents a lot of guesswork.
If a peptide’s appearance changed and you can’t explain why, don’t talk yourself into using it.
Most handling errors don’t look dramatic. They look ordinary right up until the result is inconsistent.
Essential Safety Disclaimers and Final Checklist
Research-use disclaimer
This guide is for research handling and storage education only. It is not medical advice, not a diagnosis tool, and not a substitute for instructions from a licensed clinician, pharmacist, or qualified laboratory supervisor. Anyone handling peptides should follow the specific product documentation and any applicable legal, clinical, or institutional requirements.
Storage guidance also doesn’t make a questionable material safe. If the source, labeling, sterility, or identity of a peptide is uncertain, better storage won’t solve that problem.
Quick checklist
Use this as your repeatable prep standard:
- Clean the workspace: Wash hands, sanitize the surface, and swab vial stoppers before puncture.
- Use an appropriate sterile diluent: Reconstitute carefully and avoid casual substitutions.
- Mix gently: Swirl or roll. Don’t shake.
- Plan aliquots in advance: Match each portion to a realistic single use or short active-use window.
- Label immediately: Include peptide ID, concentration, and reconstitution date.
- Choose storage by timeline: Refrigerator for near-term use, freezer for preserved aliquots.
- Keep temperatures stable: Avoid frost-free freezer cycling and unnecessary warming.
- Protect from light and moisture: Cold alone isn’t enough.
- Inspect before use: Cloudiness, color change, or particles are warning signs.
- Never refreeze a thawed aliquot: Treat thawed material as active, not reserve.
The safest approach is also the least glamorous one. Stay clean, stay organized, keep the solution cold, and don’t ask one vial to survive more handling than necessary.
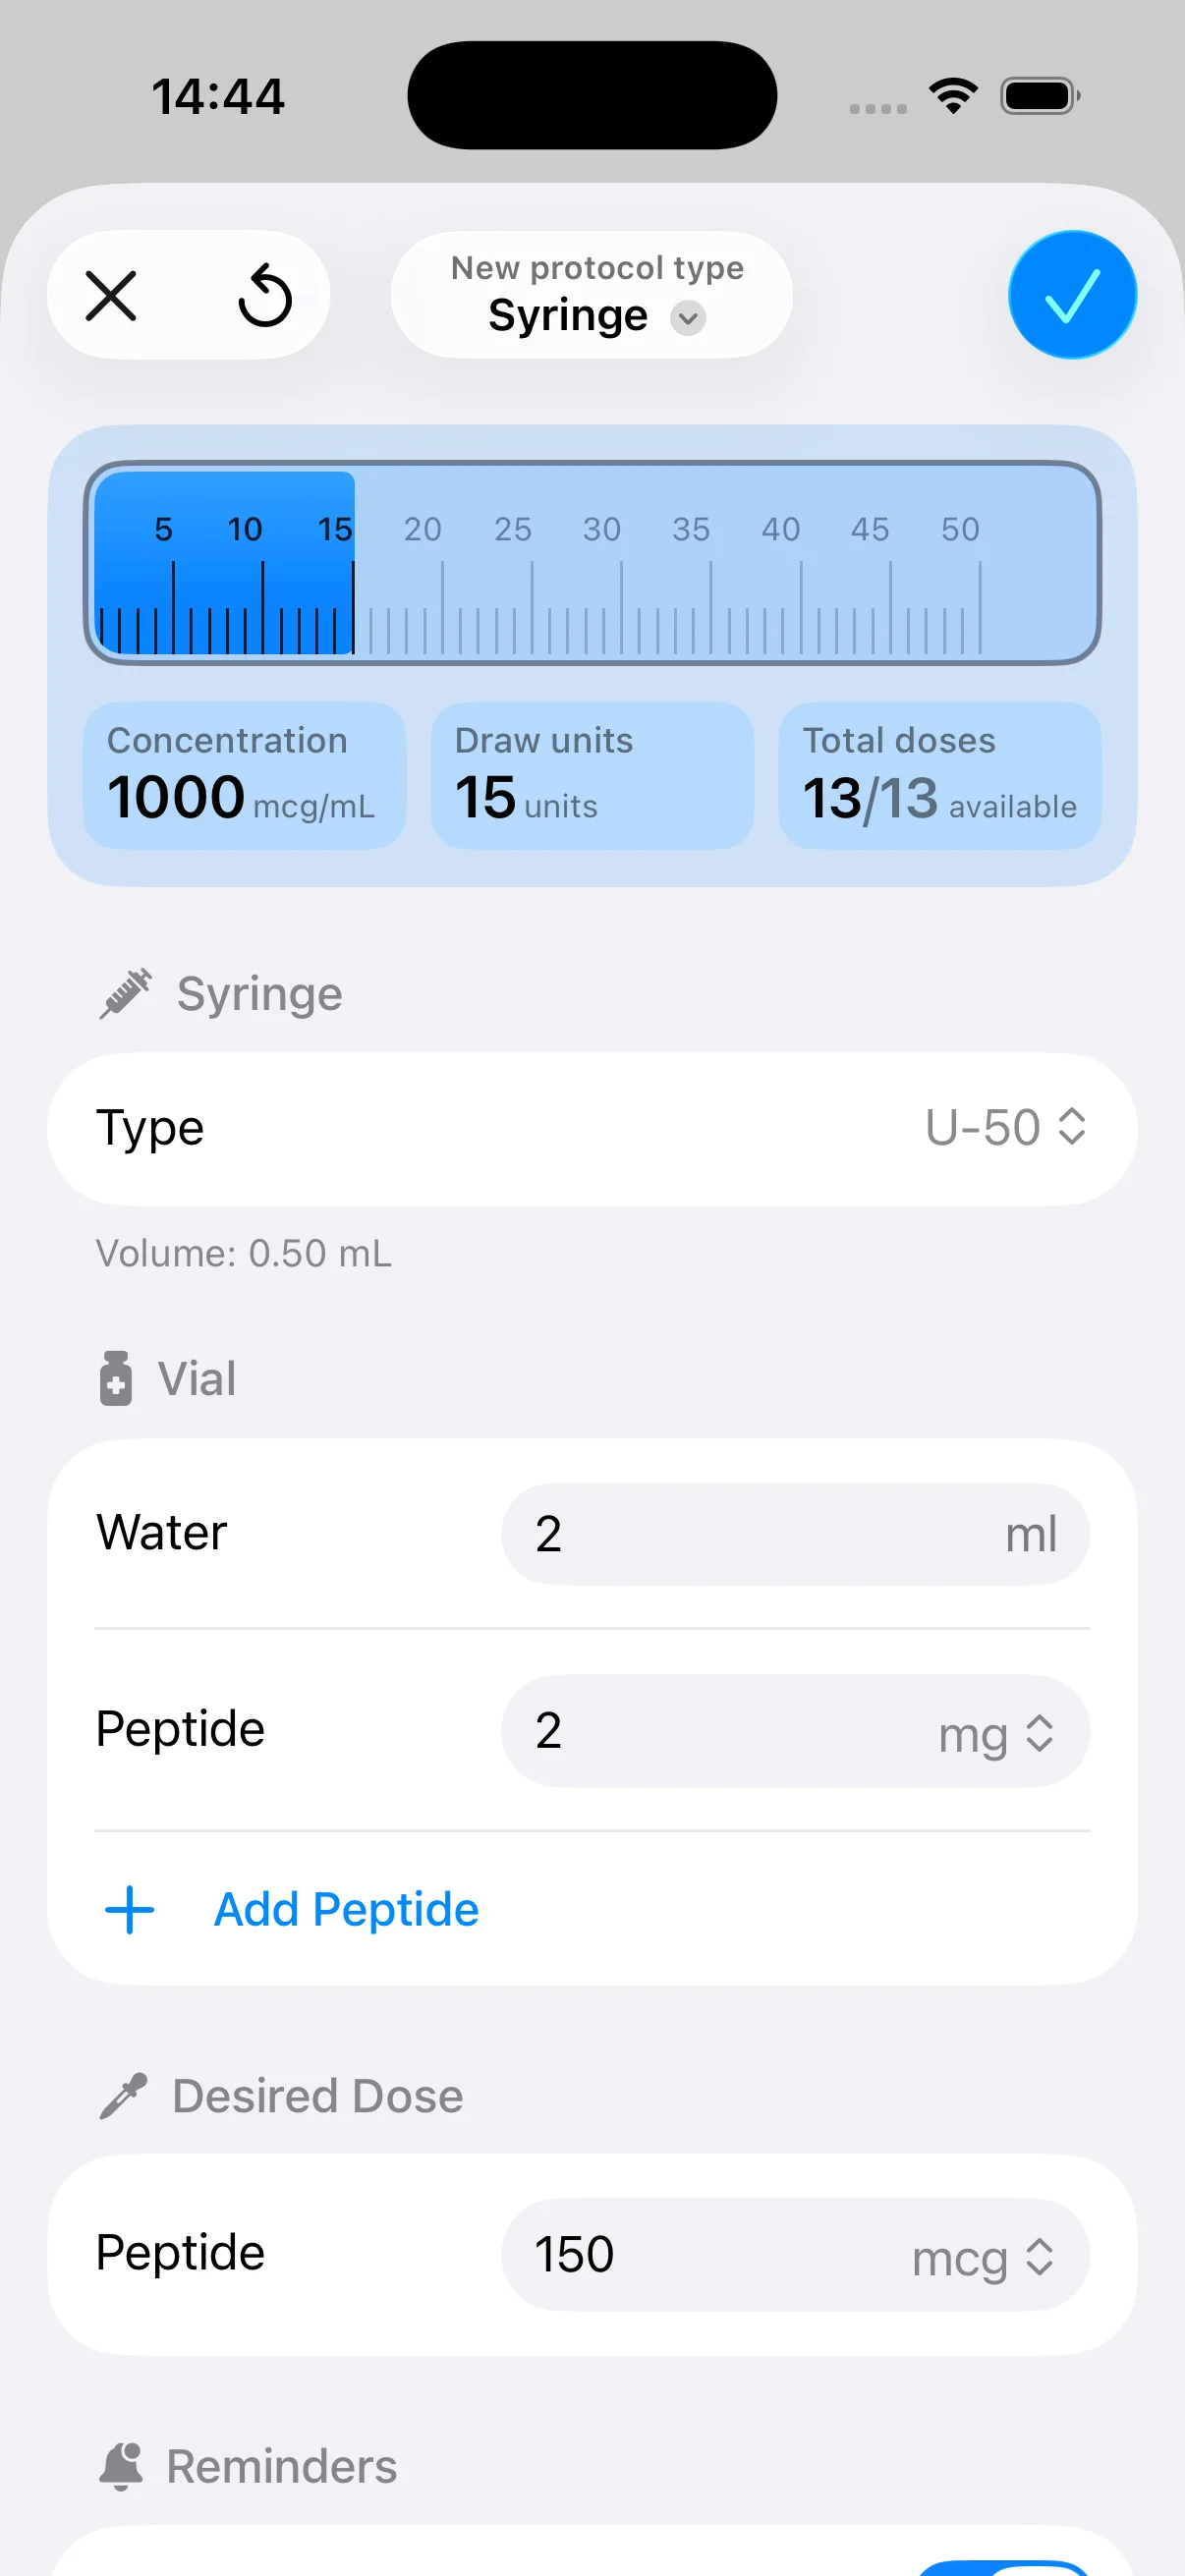
PepFlow helps take the math and scheduling friction out of peptide routines. If you want a simple way to calculate volumes, organize protocols, and stay on top of dosing schedules without manual guesswork, take a look at PepFlow.