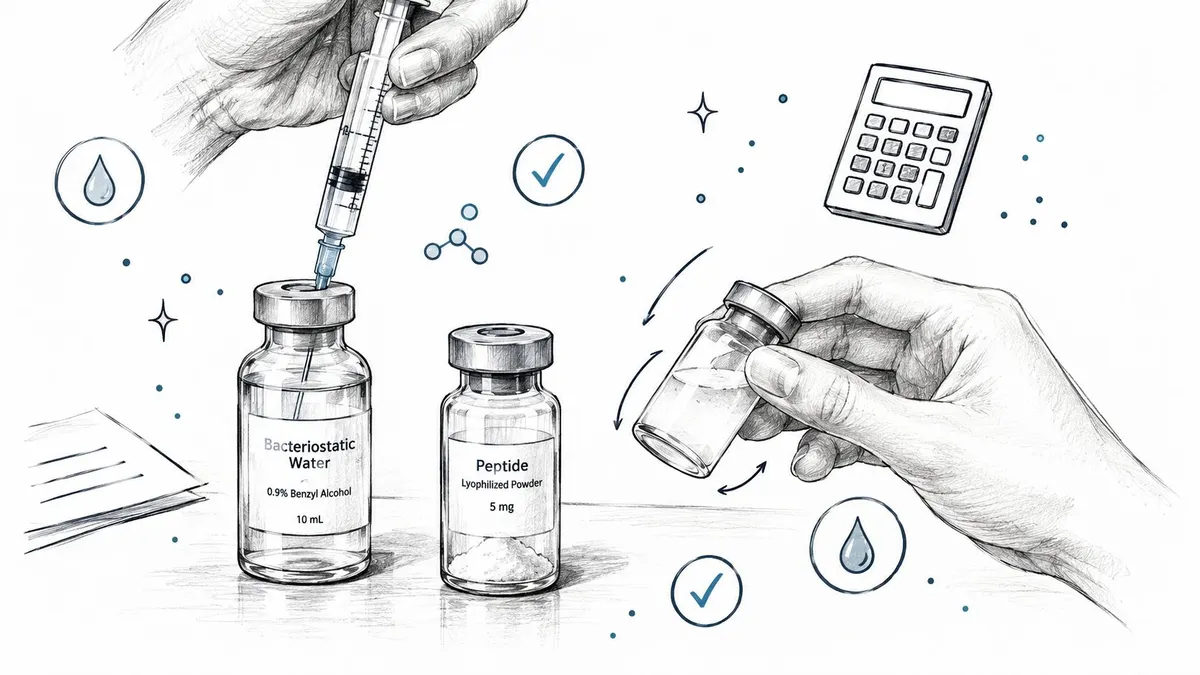
You’re at a clean counter with a small vial of white powder in one hand and a syringe of clear liquid in the other. The procedure looks simple, but the important decisions happen before the first drop enters the vial: which solvent to use, how much to add, and how to protect the solution from contamination and handling damage.
This guide focuses on the practical details that cause the most mistakes. It explains the concentration math, the physical mixing technique, the difference between sterile water and bacteriostatic water, and what to do when a vial stays cloudy or foamy. For any product intended for human use, follow the manufacturer’s instructions and guidance from a qualified healthcare professional.
Table of Contents
- Why Lyophilized Peptides Need a Liquid Carrier
- Supplies to Lay Out Before You Start
- Calculating Solvent Volume from Your Target Dose
- The Actual Mixing Procedure from Stopper Wipe to Clarity Check
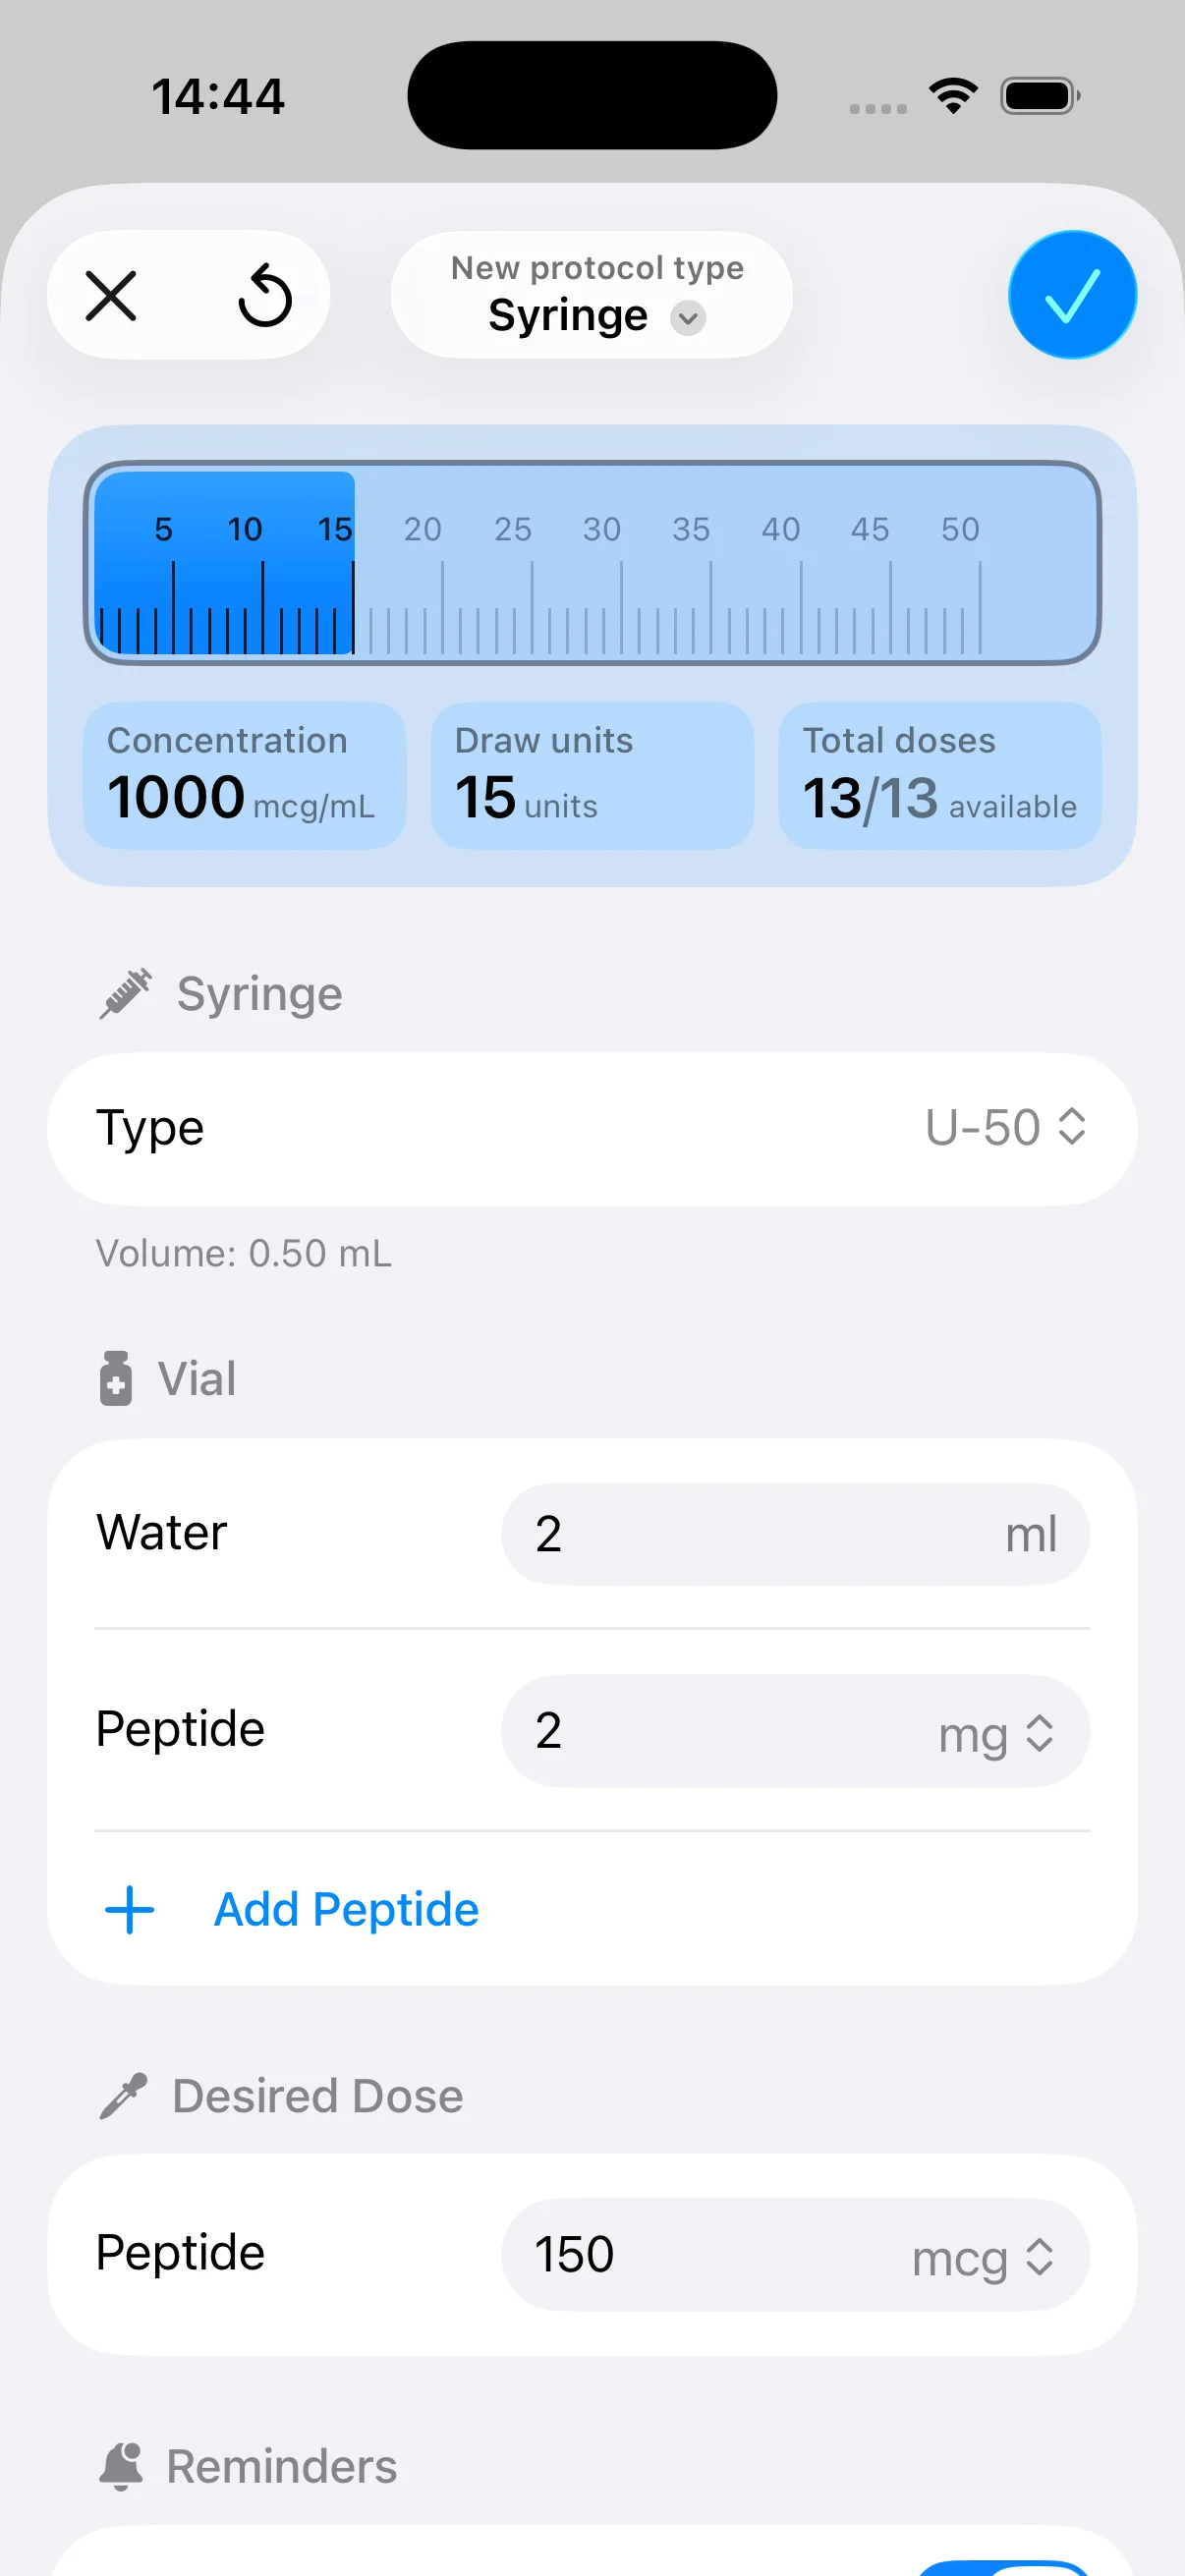
- Letting PepFlow Handle the Math Instead
- Storage and Shelf Life After Reconstitution
- Troubleshooting Cloudy Vials Foaming and Stubborn Dissolution
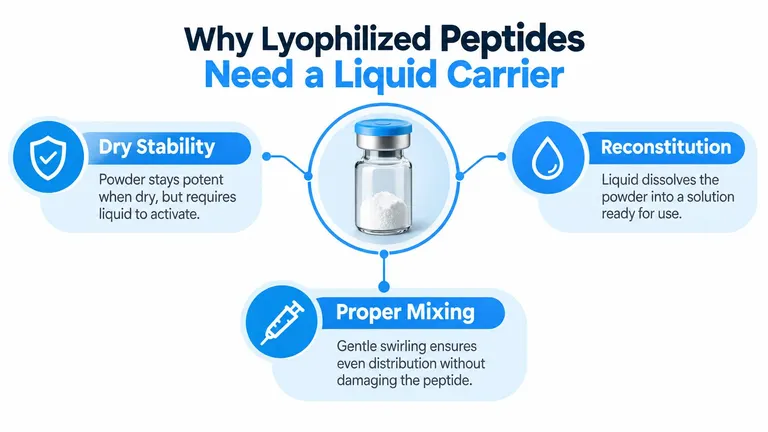
Why Lyophilized Peptides Need a Liquid Carrier
The white material inside the vial is usually lyophilized peptide, meaning it has been freeze-dried into a stable solid. Freeze-drying removes water while preserving the material in a form that’s easier to ship and store. In that dry state, however, the peptide isn’t a liquid that can be measured or drawn into a syringe.
Reconstitution restores the powder to a liquid solution. The solvent dissolves the dried material and distributes it throughout the vial, creating a concentration that can be measured for a chosen dose. The volume of solvent isn’t a cosmetic choice. It determines how much peptide is present in each milliliter and, therefore, how much liquid must be drawn for each dose.
The solvent decision comes first
Sterile water for injection is generally treated as a single-dose or immediate-use option. It contains no antimicrobial preservative, so an opened and reconstituted vial should be used promptly or discarded according to the product’s instructions.
Bacteriostatic water contains sterile water with 0.9% benzyl alcohol. That preservative helps suppress microbial growth when a vial is accessed repeatedly, and practical guidance commonly places the multi-use window at about 28 days when refrigerated. The preservative doesn’t make careless handling safe, and it doesn’t prevent the peptide from gradually degrading.
The correct choice depends on how the vial will be used. A same-day preparation and a multi-dose preparation have different sterility and waste trade-offs. Decide that before doing the calculation, because the chosen solvent determines what the final vial is intended to hold.
Supplies to Lay Out Before You Start
Clear the work area before opening anything. A wiped, uncluttered surface reduces the chance that you’ll reach over an exposed stopper, knock a vial over, or set a sterile syringe beside an unclean object.
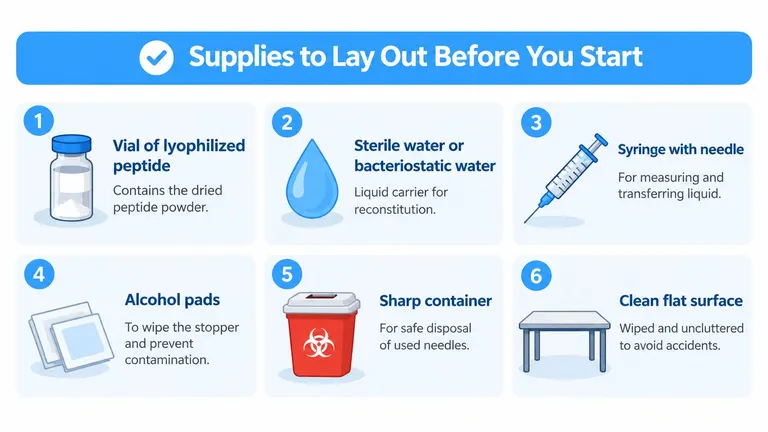
Gather the following:
- Peptide vial: Confirm that the vial is intact and that the label identifies the peptide and powder mass.
- Sterile water or bacteriostatic water: Choose the carrier according to whether the preparation is for immediate use or repeated access.
- Sterile syringe and needle: Use a suitable syringe for transferring the solvent and a new sterile syringe or needle for every withdrawal.
- Alcohol prep pads: Use them to clean vial stoppers and let the surfaces air-dry before puncturing.
- Sharps container: Keep it within reach so used needles don’t return to the work surface.
- Clean gloves and paper towel: These can help maintain a controlled work field, but gloves don’t replace hand hygiene.
- Fridge thermometer: This is useful when storage temperature matters and the refrigerator’s actual conditions aren’t obvious.
Before touching a stopper, check the solvent’s expiry date, inspect both vials for damage, and record the lot information if you’re keeping preparation records. Don’t use tap water, an improvised liquid, or a container with an uncertain seal.
Bacteriostatic water is a practical match for a vial that will be accessed repeatedly because benzyl alcohol provides antimicrobial protection between withdrawals. Sterile water may make more sense when the solution is intended for immediate or single-use preparation, but it doesn’t provide that same preservative protection.
The physical setup matters as much as the shopping list. Put the peptide vial, solvent, alcohol pads, syringes, and sharps container in front of you before you start. You shouldn’t need to search through drawers while a vial is open.
Calculating Solvent Volume from Your Target Dose
The calculation has two parts:
Concentration = total peptide mass ÷ solvent volume
Liquid volume for a dose = target dose ÷ concentration
Keep the units consistent. Convert milligrams to micrograms before comparing a vial’s total mass with a target dose. On a U-100 insulin syringe, 1 mL corresponds to 100 units, so 0.1 mL corresponds to 10 units.
Example one, a 5 mg vial
Add 2 mL of solvent to a vial containing 5 mg:
- 5 mg ÷ 2 mL = 2.5 mg/mL
- 2.5 mg/mL = 2,500 mcg/mL
- A 250 mcg dose is 0.25 mg
- 0.25 mg ÷ 2.5 mg/mL = 0.1 mL
- 0.1 mL equals 10 units on a U-100 insulin syringe
The same vial could produce a different draw if you add a different volume. Practical preparation examples also show 1 mg in 1 mL producing 1 mg/mL, or 1,000 mcg/mL, while larger powder masses mixed with different solvent volumes create different concentrations. Peptide reconstitution guidance provides comparable preparation examples and illustrates why the solvent volume must be recorded.
Example two, a 1 mg vial
For 1 mg in 1 mL:
- 1 mg ÷ 1 mL = 1 mg/mL
- 1 mg/mL = 1,000 mcg/mL
- 0.01 mL contains 10 mcg
- A 250 mcg dose requires 0.25 mL, or 25 units
Working backward can make the decision easier. A 5 mg vial contains 5,000 mcg. At a 250 mcg target dose, 5,000 mcg ÷ 250 mcg gives 20 theoretical doses, before accounting for any unusable residual volume or handling loss. You can then select a solvent volume that produces a draw your syringe can measure clearly.
| Vial mass | Solvent added | Concentration | Volume for 250 mcg dose |
|---|---|---|---|
| 1 mg | 1 mL | 1 mg/mL, 1,000 mcg/mL | 0.25 mL |
| 5 mg | 2 mL | 2.5 mg/mL, 2,500 mcg/mL | 0.1 mL |
| 10 mg | 2 mL | 5 mg/mL, 5,000 mcg/mL | 0.05 mL |
For a second way to check concentration logic, the Verbal Experiment molarity guide can help with unit conversions, although peptide dosing still requires the vial mass and intended solvent volume. You can also compare the practical implications of dilution choices in PepFlow’s guide to bacteriostatic water volume.
The Actual Mixing Procedure from Stopper Wipe to Clarity Check
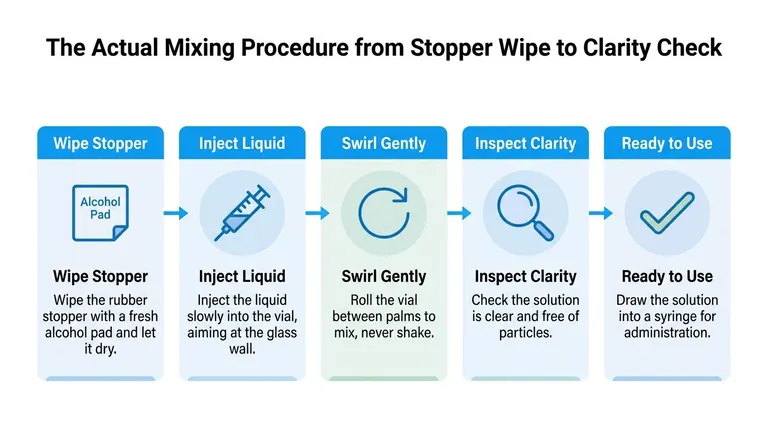
Start with clean hands and a prepared work area. Remove the protective caps, but don’t touch the rubber surfaces. Use a fresh alcohol pad on the solvent stopper and the peptide stopper, then let each surface air-dry. Puncturing a wet stopper can transfer alcohol into the vial.
Draw the calculated solvent volume with a sterile syringe. Check the barrel carefully for air bubbles and confirm the volume against your written calculation before transferring anything. Use a new sterile syringe and needle for each transfer or withdrawal, rather than reusing equipment between vials.
Tilt the peptide vial and place the needle so the solvent enters along the inside glass wall. Push the plunger slowly. The liquid should run down the wall and collect at the base, rather than strike the dry powder cake with a forceful stream.
Gentle movement beats aggressive mixing
Once the solvent is in the vial, don’t shake it, flick it, or place it on a vortex mixer. Roll the vial between your palms or swirl it slowly so the liquid contacts the remaining powder without creating unnecessary mechanical stress.
Give the solution time to settle. Inspect it in good light against a dark background. A properly dissolved solution should be visually uniform, with no visible particles or persistent cloudiness. If small specks remain, allow more time and use another gentle swirl rather than trying to force dissolution.
Practical rule: The liquid should do most of the dissolving. Your job is to control the addition, avoid turbulence, and verify the final appearance.
For a more detailed handling checklist, use PepFlow’s contamination-prevention guidance. If the solution remains visibly particulate or the vial’s stopper was compromised, don’t draw it for use.
Letting PepFlow Handle the Math Instead
Manual calculations are straightforward, but errors usually come from unit conversion rather than difficult arithmetic. A reader may enter 5 mg as though it were 5 mcg, confuse milliliters with syringe units, or calculate the concentration correctly but convert the final volume incorrectly.
PepFlow lets you enter the vial mass, intended solvent volume, and target dose, then returns the resulting injection volume in practical syringe units. That creates a second check before the solvent enters the vial. It doesn’t replace product instructions or professional advice, but it can reduce the number of calculations you have to perform by hand.
Reproduce the 5 mg example
Enter:
- Vial mass: 5 mg
- Solvent volume: 2 mL of bacteriostatic water
- Target dose: 250 mcg
The expected result is 0.1 mL per dose, which corresponds to 10 units on a U-100 insulin syringe. That matches the manual calculation above.
The smaller example shows why concentration affects usability. With 1 mg in 1 mL, every 0.01 mL equals 10 mcg, so a target dose may require a larger liquid volume than the 5 mg vial mixed with 2 mL. The calculator makes that relationship visible before preparation and helps you compare a different dilution without rewriting the entire calculation.

Storage and Shelf Life After Reconstitution
Reconstitution changes the storage problem. A dry vial and a liquid vial don’t have the same handling requirements, so label the vial with the preparation date, solvent used, concentration, and any discard date required by the product instructions.
Refrigeration is the usual approach for reconstituted preparations. Keep the vial protected from light, preferably in its original packaging or another suitable opaque container. Avoid freezing a reconstituted vial unless the specific product has validated instructions for that condition, because freeze-thaw cycles can damage peptide stability.
| Solvent used | Storage condition | Typical usable window |
|---|---|---|
| Sterile water | Refrigerated and intended for immediate or single-use preparation | Use promptly, generally immediately, or discard |
| Bacteriostatic water | Refrigerated, with controlled repeated access | About 28 days as a practical multi-use window |
| Either solvent | Visible particles, persistent cloudiness, discoloration, or uncertain sterility | Discard rather than draw |
The about 28-day multi-use window associated with bacteriostatic water reflects the preservative’s antimicrobial role, not a guarantee that every peptide remains chemically stable for that entire period. Bacteriostatic water storage guidance offers additional context on the distinction between preserved and preservative-free water.
Sterile water lacks antimicrobial protection. If you prepare a vial with it, treat the solution as an immediate-use preparation unless authoritative product instructions say otherwise. For broader storage workflow guidance, see PepFlow’s reconstituted peptide storage guide.
Troubleshooting Cloudy Vials Foaming and Stubborn Dissolution
A vial that doesn’t look clear needs a decision, not more force. First separate the appearance into three categories: clear and uniform, hazy or slowly dissolving, and foamy or visibly particulate.
A clear solution with no visible particles has passed the visual check. Haze may reflect incomplete dissolution, concentration, temperature, or peptide-specific behavior. Foam usually points back to the transfer technique, especially a direct stream onto the powder, excessive agitation, or pressure that wasn’t equalized.
If the solution is hazy
Let the vial sit undisturbed at room temperature for 15 to 30 minutes, a range noted in practical reconstitution guidance for allowing stubborn material to equilibrate and dissolve. Then swirl gently and inspect again. Don’t heat the vial, microwave it, vortex it, or shake it to speed up the process.
If cloudiness persists, review the concentration calculation. A solution mixed too concentrated may dissolve slowly, and a carefully measured additional volume of the appropriate solvent can sometimes improve dissolution. Don’t add liquid casually, because changing the volume changes the concentration and every later dose calculation.
Some peptides are more prone to slow dissolution or aggregation than others. That’s why “just swirl it” isn’t a complete troubleshooting plan. The product’s specific handling instructions should take priority.
If the vial is foamy
Foam generally comes from turbulence. Common causes include:
- Direct impact: The solvent was sprayed onto the powder cake instead of allowed to run down the vial wall.
- Fast injection: The plunger was pushed forcefully, creating bubbles and backpressure.
- Aggressive mixing: The vial was shaken, flicked, or vortexed.
- Pressure imbalance: Air wasn’t allowed to equalize as the liquid entered.
Stop mixing and let the vial settle. Bubbles clinging to the glass can make a clear solution appear worse than it is, so inspect again after the foam collapses. If the liquid becomes clear and no particles remain, the problem was likely technique-related rather than incomplete dissolution.
When not to continue
Discard the preparation if visible particles remain after adequate settling and gentle mixing, if the solution has an unexplained color change, if the stopper or container was compromised, or if contamination is suspected. Don’t try to filter or rescue a visibly contaminated preparation without an appropriate validated laboratory process. Some laboratory protocols discuss 0.22 μm sterile filtration when a peptide is fully soluble and sterility is required, but that isn’t a substitute for correct aseptic preparation or product-specific instructions.
Use this final check before every withdrawal:
- Confirm the label: Verify the peptide identity and powder mass.
- Confirm the solvent: Match sterile water or bacteriostatic water to the intended use window.
- Verify the math: Check the concentration and target volume manually or with the calculator.
- Clean the stopper: Use alcohol and allow it to air-dry.
- Control the transfer: Inject slowly against the vial wall, not directly onto the cake.
- Inspect the solution: Draw only when it’s clear and free of visible particles.
- Track storage: Date the vial and refrigerate promptly when the preparation is divided across multiple uses.
The compact rule is simple: clear is good, cloudy is watch, particulate is discard. Mixing peptide powder isn’t about a dramatic technique. It’s disciplined repetition at the same control points every time.
PepFlow offers a practical dosage calculator for entering vial mass, solvent volume, and target microgram dose, along with scheduling and dose-tracking tools for structured routines. Visit PepFlow to check your reconstitution math and organize the schedule that follows it.