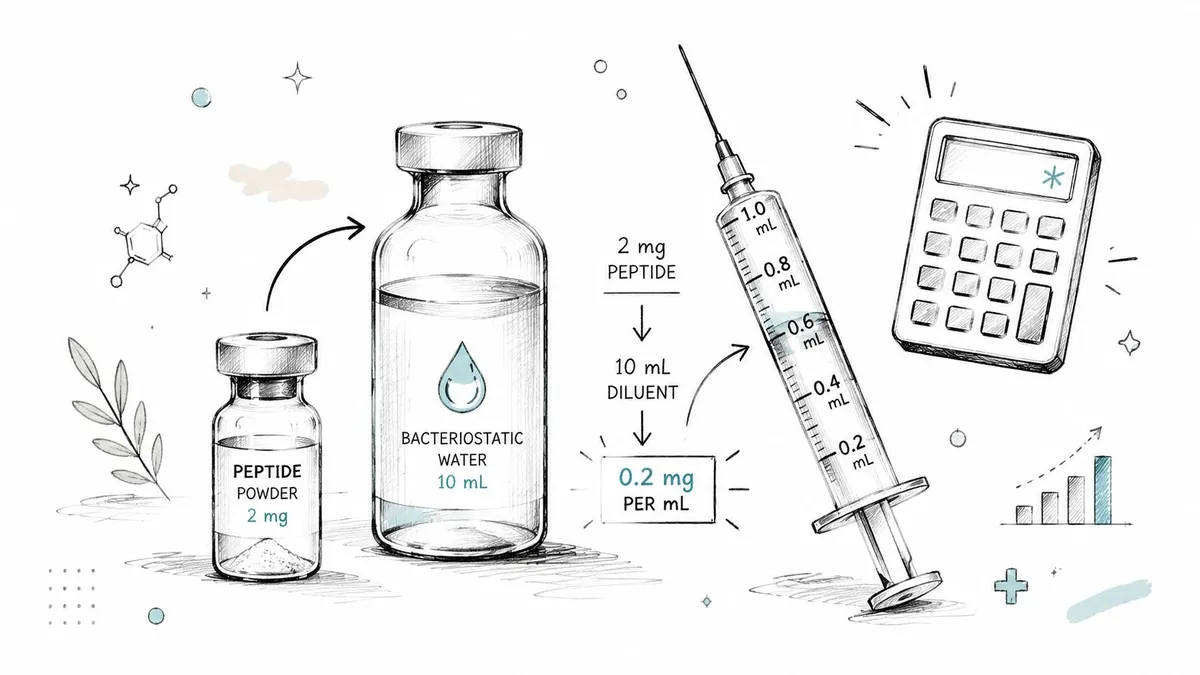
You’ve got a vial of lyophilized peptide in one hand, bacteriostatic water in the other, and a common question arises at this exact point. How much water do you add without making the dosing math awkward, the injection volume impractical, or the whole vial harder to use consistently?
That decision matters more than people think. The amount of water you mix in doesn’t change how much peptide is in the vial, but it changes everything that follows: concentration, syringe units, ease of measuring small doses, and how cleanly your protocol runs day to day. If you want a broader sterile handling walkthrough alongside the math, Learn to mix peptides safely is a useful companion reference.
Table of Contents
- Your Guide to Peptide Reconstitution
- Understanding the Core Components and Variables
- The Reconstitution Formula Explained
- Worked Examples for Common Scenarios
- Sterile Technique and Safe Storage Practices
- Simplify Your Protocol with the PepFlow Calculator
Your Guide to Peptide Reconstitution
When people ask how much bacteriostatic water do you mix with peptides, they’re usually asking two things at once. First, what volume is commonly used. Second, what volume will make their own dosing easiest to measure without avoidable mistakes.
The answer isn’t one fixed number for every vial. The right amount depends on the vial size, the dose you plan to draw, and how precise you need the syringe readings to be. A concentration that looks fine on paper can become annoying in practice if every dose lands on an awkward unit mark or requires tiny measurements that are easy to misread.
A good reconstitution setup does three jobs well:
- It gives clear dose math: you can convert the vial strength into a practical concentration without guessing.
- It produces workable draw volumes: your syringe markings line up with the dose you want to measure.
- It supports clean handling: the vial is mixed and stored in a way that protects the solution.
Practical rule: choose a water volume that makes the dose easy to measure repeatedly, not just easy to calculate once.
That’s the standard I use. If a concentration is technically correct but cumbersome at the syringe, it’s not a good setup. If a more dilute mix makes tiny microgram dosing easier to read, that may be the better choice even if it means drawing a bit more liquid.
The rest of the process is straightforward once the variables are clear. You need to know what’s in the vial, how much water you’re adding, how that creates a final concentration, and how that concentration translates into syringe units. After that, sterile technique becomes the make-or-break factor.
Understanding the Core Components and Variables
Before the math, get the physical pieces straight. Most errors happen because someone understands one part of the process but not the interaction between all three parts.
What each item actually does
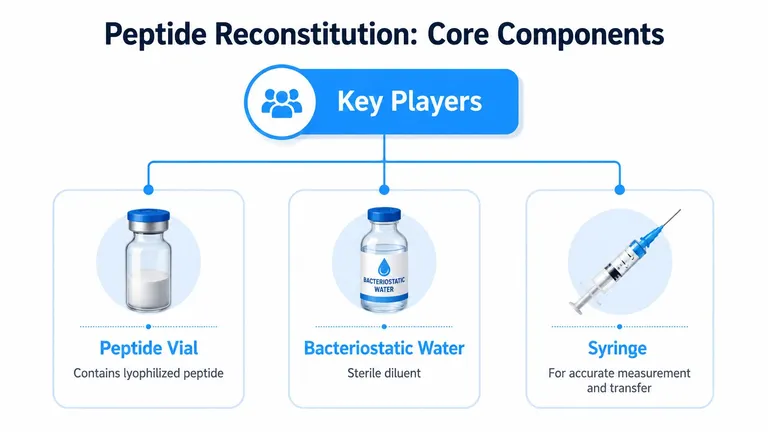
The peptide vial contains the total amount of peptide you’re working with. That amount is usually labeled in milligrams. Once you add water, the peptide amount doesn’t change. Only the concentration changes.
The bacteriostatic water is the diluent. Its job is to dissolve the lyophilized powder into a usable liquid so you can measure doses accurately. The more water you add, the more diluted the final solution becomes. The less water you add, the more concentrated it becomes.
The syringe is where the math becomes practical. Guidance commonly notes a reconstitution pattern of 1 mL to 3 mL per vial, with some single-dose peptide products such as GLP-1s often mixed with 0.5 mL to 1 mL, while more dilute preparations may use 2–3 mL. The same guidance also notes that a 1 mL insulin syringe equals 100 units, so 0.1 mL = 10 units. That’s why even small changes in water volume can change the usable syringe math in a meaningful way, especially with microgram-level dosing (Prime Peptides reference on common reconstitution volumes and insulin syringe unit conversion).
Why water volume changes the whole workflow
Here’s the trade-off. A smaller water volume gives you a stronger solution, which means less liquid to draw for the same peptide amount. That can be convenient, but it can also force you into very small syringe measurements.
A larger water volume spreads the same peptide amount across more liquid. That makes each individual draw larger and often easier to measure. The downside is practical volume. If the dilution is too loose, you may end up drawing more liquid than you want for routine use.
This is why there isn’t one universal answer to how much bacteriostatic water you mix with peptides.
- Use a tighter mix when you want smaller draw volumes and already know the resulting unit math is manageable.
- Use a looser mix when your target dose is small enough that extra dilution improves measurement accuracy on the syringe.
- Avoid arbitrary mixing just because you saw a number used elsewhere. A workable setup for one peptide and one protocol may be clumsy for another.
The best reconstitution volume is the one that makes your intended dose easy to read, easy to repeat, and hard to miscalculate.
The Reconstitution Formula Explained
A vial, a target dose, and a syringe scale can look straightforward until one unit slips. That is where dosing mistakes start. The math itself is simple. The job is to keep each conversion explicit so the concentration on paper matches the liquid in the vial.
The concentration formula
The core formula is:
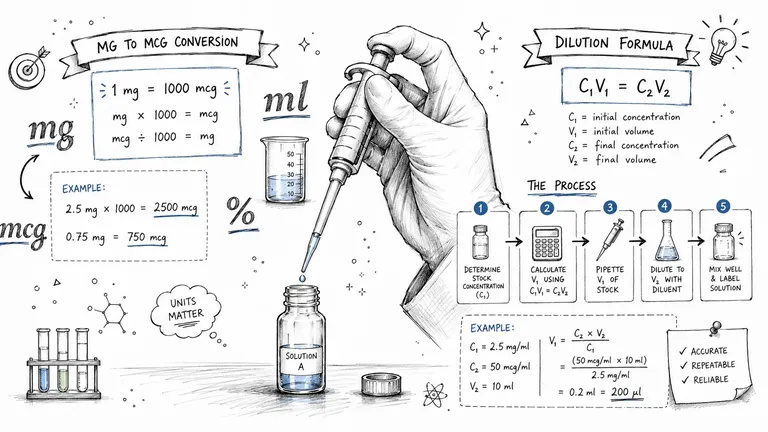
(peptide mg × 1000) ÷ water mL = mcg per mL
Use it the same way every time. Convert the vial amount from milligrams to micrograms first, then divide by the amount of bacteriostatic water added. That gives you the concentration you will use for every later dose calculation.
A standard example is 5 mg + 2 mL = 2,500 mcg/mL (Regen Peptides guide with concentration formula and example).
Break it down cleanly:
-
Start with the vial amount
A 5 mg vial contains 5 milligrams of peptide. -
Convert milligrams to micrograms
5 mg × 1000 = 5,000 mcg total peptide. -
Divide by the water added
5,000 mcg ÷ 2 mL = 2,500 mcg/mL.
That final number is the working concentration of the reconstituted solution.
If you want a second check before you draw anything, this mcg to mL conversion guide for peptide dosing math walks through the same relationship from the dose side. Manual math is fine. A calculator or protocol tool helps catch the transcription errors that happen when people are tired, rushed, or switching between mg, mcg, mL, and syringe units.
From concentration to draw volume
Once you know the concentration, the next step is direct:
- Set the target dose in mcg
- Divide the target dose by the concentration in mcg/mL
- Read that volume on the syringe
Example:
- Concentration: 2,500 mcg/mL
- Target dose: 250 mcg
- Calculation: 250 ÷ 2,500 = 0.1 mL
So the draw volume is 0.1 mL.
That is the part people often skip on paper. They remember the vial concentration but do not write down the exact draw for the protocol they are following. In practice, recording both values prevents repeat mistakes. I treat concentration and draw volume as a pair. If one is missing from the label or notes, the setup is incomplete.
Why this formula matters in real protocols
The formula does more than tell you concentration. It tells you whether your protocol will be easy to execute repeatedly.
A tighter mix can reduce injection volume, but it can also leave you measuring very small amounts where a slight reading error matters more. A looser mix can make routine draws easier to see and repeat, but it may create larger volumes than you want for regular use. The right setup is the one that gives you clear syringe math for the dose you plan to use.
Manual calculation and software work well together. You should know the formula well enough to audit your own numbers. You do not need to rely on memory every time you reconstitute a new vial. PepFlow helps by calculating concentration, converting target doses into draw volumes, and keeping the protocol written down in one place so the same vial is handled the same way each time.
Write down the final concentration immediately after mixing, then record the exact mL for the intended dose. That single habit prevents a large share of avoidable reconstitution errors.
Worked Examples for Common Scenarios
Examples make this much easier, especially when you compare two valid mixes for the same vial.
Example one with a tighter concentration
Say you have a 5 mg vial and want a 250 mcg dose. You decide to add 1 mL of bacteriostatic water.
First convert the vial amount:
- 5 mg = 5,000 mcg total
Then divide by the water added:
- 5,000 mcg ÷ 1 mL = 5,000 mcg/mL
Now calculate the draw for a 250 mcg dose:
- 250 mcg ÷ 5,000 mcg/mL = 0.05 mL
This is a concentrated setup. The benefit is a smaller liquid draw. The drawback is that very small measurements leave less room for sloppy technique or rushed reading.
Example two with a looser concentration
Take that same 5 mg vial and the same 250 mcg target dose, but this time add 2 mL of bacteriostatic water.
- 5 mg = 5,000 mcg total
- 5,000 mcg ÷ 2 mL = 2,500 mcg/mL
Now calculate the dose:
- 250 mcg ÷ 2,500 mcg/mL = 0.1 mL
This is why people often prefer a somewhat looser mix when working with smaller microgram doses. The final draw is easier to see and repeat.
If you’re also trying to understand how freeze-dried material behaves before reconstitution, this overview of freeze-dried peptides gives useful background.
Example three with a larger vial
Now change the vial. Say you have 10 mg and want a 500 mcg dose after adding 2 mL of water.
Convert the vial:
- 10 mg = 10,000 mcg total
Find the concentration:
- 10,000 mcg ÷ 2 mL = 5,000 mcg/mL
Calculate the draw:
- 500 mcg ÷ 5,000 mcg/mL = 0.1 mL
This example shows why vial size alone doesn’t tell you much. What matters is the combination of vial amount, water volume, and desired dose.
| Vial Size (mg) | Water Added (mL) | Concentration (mcg/mL) | Dose per 10 Units (mcg) |
|---|---|---|---|
| 5 | 1 | 5,000 | 500 |
| 5 | 2 | 2,500 | 250 |
| 10 | 2 | 5,000 | 500 |
A useful way to read this table is by working backward from the syringe. If your intended dose lines up neatly with a clear draw mark, the concentration is practical. If it forces an awkward tiny volume every time, choose a different water amount.
- For smaller target doses: extra dilution often improves readability.
- For larger target doses: a more concentrated mix can keep draw volume manageable.
- For repeated protocols: consistency matters more than clever math. Pick a setup you can reproduce without hesitation.
Sterile Technique and Safe Storage Practices
Good math doesn’t protect a contaminated vial. Technique does.
Your pre-mix checklist
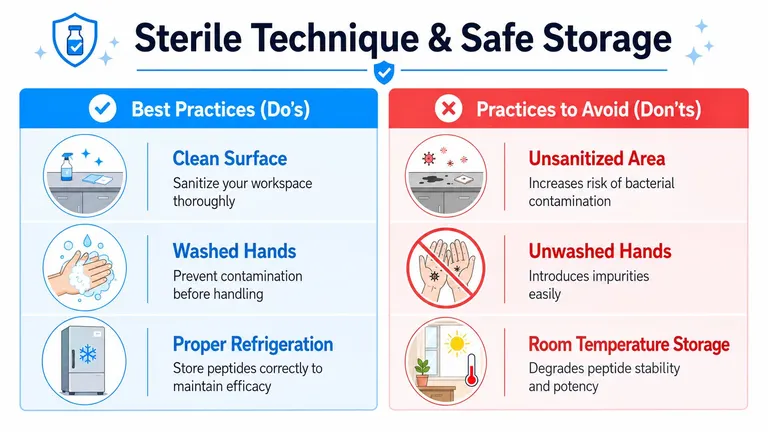
Set up like you’re about to handle something you don’t want to repeat. Clean surface. Clean hands. Clean vial tops. Everything within reach before the needle goes into anything.
Use a fresh alcohol swab on both rubber stoppers and let them dry before puncturing. Draw the bacteriostatic water carefully, then inject it slowly down the inside wall of the peptide vial rather than blasting it directly into the powder.
If you need reliable sterile syringes for prep and measurement, a straightforward supply option is to Purchase Medline syringes from DME Superstore.
Critical warning: never use tap water, and don’t substitute random lab water because it’s available. The solvent choice and handling discipline are part of the protocol.
After the water is in the vial, swirl gently. Don’t shake. Vigorous agitation is one of the easiest ways to turn a careful setup into a messy one.
For a fuller contamination-prevention checklist, this guide on preventing contamination during peptide handling is worth keeping handy.
Handling mistakes that ruin good math
Some mistakes show up immediately. Others don’t show up until the solution looks off, the vial has been mishandled repeatedly, or the protocol becomes inconsistent.
Avoid these habits:
- Rushing the mix: forcing liquid directly onto the powder can create unnecessary agitation.
- Shaking the vial: gentle swirling is enough for dissolution.
- Touching sanitized surfaces: once the stopper is swabbed, leave it alone.
- Ignoring storage discipline: a mixed vial shouldn’t be treated like stable dry powder.
The earlier formula guidance also notes storage expectations for reconstituted peptides. Keep the vial refrigerated at the temperature range specified in that guidance and treat the usable window conservatively in practice. Labeling the vial with the reconstitution date and concentration is a simple habit that prevents avoidable confusion later.
If a protocol depends on memory, it’s already less reliable than it should be.
Simplify Your Protocol with the PepFlow Calculator
A common lab mistake looks small at first. You reconstitute one vial correctly, then a week later you cannot remember whether you used 1 mL or 2 mL of bacteriostatic water, your paper note is unclear, and the draw amount on the syringe no longer matches the concentration you thought you made.
That kind of error usually does not come from misunderstanding the formula. It comes from repetition, inconsistent notes, and recalculating the same setup under time pressure. Manual math is still worth learning because it lets you verify the protocol yourself. In practice, repeated handling is where arithmetic drift and transcription mistakes start to creep in.
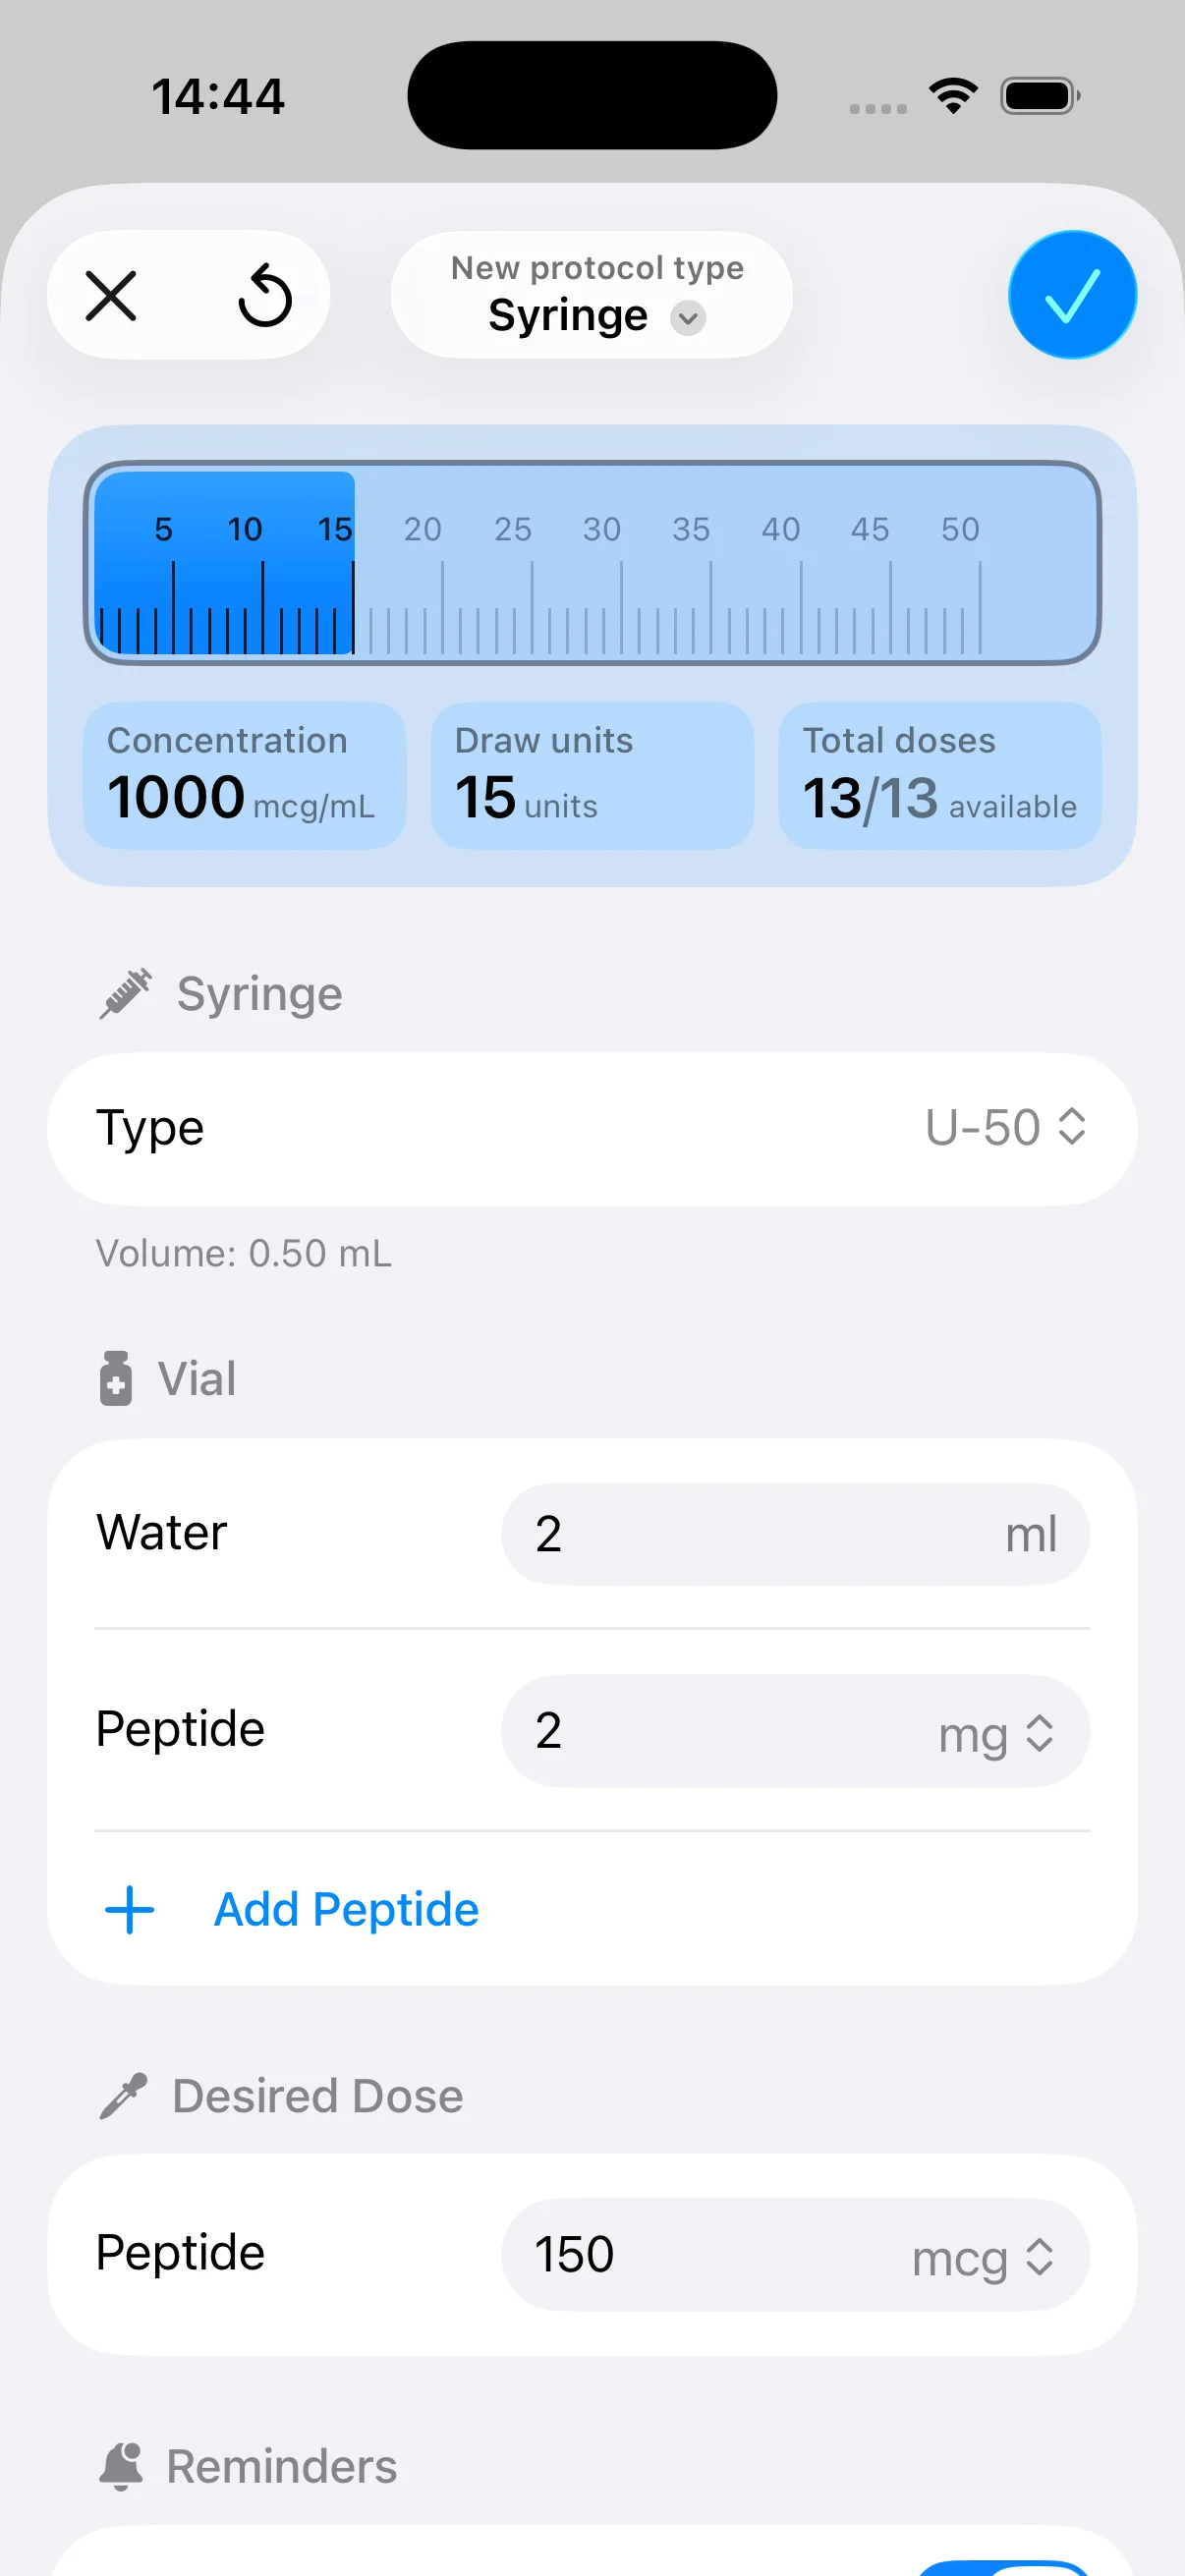
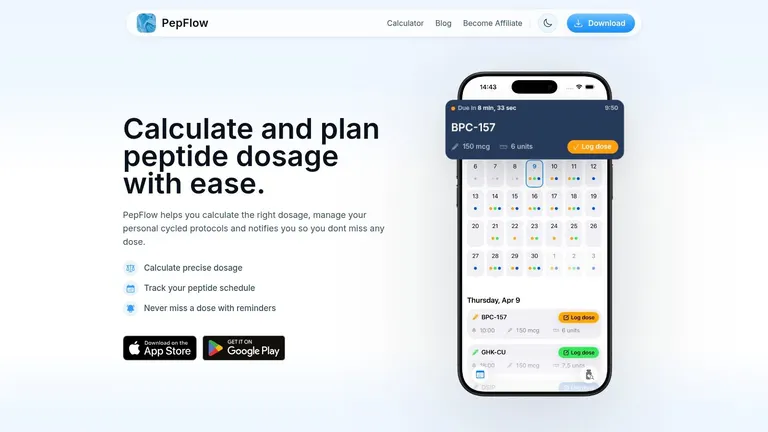
PepFlow is designed for that part of the workflow. It is an iOS app for peptide dose calculation and protocol tracking. You enter the vial strength, the volume of bacteriostatic water added, and the target dose. The app returns the draw amount and keeps the setup recorded so you do not have to rebuild the calculation each time.
The benefit is consistency across repeated use. One correct calculation is not usually the hard part. Keeping every later dose aligned with the original reconstitution is harder, especially if you are managing more than one vial concentration or switching between protocols.
PepFlow is useful when you need to:
- Track multiple vial setups: different dilutions are easier to verify when they are stored in one place.
- Convert dose targets into draw amounts: this reduces handwritten conversions and unit mix-ups.
- Follow a repeat schedule: reminders help keep timing consistent.
- Keep a usable record: saved protocols make it easier to confirm what was prepared and how it was intended to be used.
I do not treat a calculator as a substitute for judgment. You still need to confirm the vial amount, choose a sensible dilution, and use proper sterile handling. What the app does well is remove the avoidable math and notekeeping errors that show up after the initial setup.
If you already know how to calculate reconstitution by hand, PepFlow is not replacing that skill. It gives you a cleaner way to apply it accurately over time, which is often the difference between a protocol that looks right once and one that stays right.