You open a new vial, set out the bacteriostatic water, and suddenly the whole process feels heavier than it looked on a forum screenshot. That reaction is normal. A peptide workflow looks simple until you realize one rushed hand movement, one dirty stopper, or one reused supply can break the sterile chain.
Most contamination problems in home prep don’t start with dramatic mistakes. They start with ordinary ones: touching more surfaces than necessary, leaving the setup to grab a missing item, puncturing a vial after skipping a wipe, or working in a cluttered room with moving air and too many distractions. In lab settings, contamination is often driven by human error, which is why strict PPE, airflow control, and fewer touches matter so much according to Aurora Biomed’s contamination-prevention guidance.
If you want a serious answer to how to prevent contamination, stop thinking in terms of isolated hygiene tips. Build a system. The people who stay safest are not the people who “try to be careful.” They’re the people who make careful behavior the default.
Table of Contents
- Beyond Cleanliness The System for Safe Peptide Handling
- Building Your Sterile Workspace
- The Aseptic Reconstitution Protocol
- Safe Storage and Vial Handling
- From Vial to Injection Site Hygiene
- Logging Doses and Spotting Contamination
Beyond Cleanliness The System for Safe Peptide Handling
A home peptide setup fails when it relies on memory, improvisation, or “good enough” wiping. Cleanliness matters, but workflow design matters more. Guidance on cross-contamination prevention in technical and clinical settings points to dedicated tools, physical segregation, and time-sequencing as foundational controls, not just surface wiping, as discussed in this cross-contamination overview.
That principle maps directly to peptide handling. Your vial, diluent, syringe wrappers, alcohol pads, labels, and disposal container should have fixed positions. Your prep surface should be used for one task at a time. Your clean items and used items should never mix. If you share a bathroom counter, desk, or kitchen table with unrelated daily activity, you’re already introducing variables you don’t need.
What works better than trying harder
People often ask whether the answer is more cleaning. Sometimes it is. Often it isn’t.
A stronger system uses three controls together:
- Dedicated tools: Keep peptide-only supplies together. Don’t borrow scissors, trays, pens, or storage containers from general household use.
- Physical segregation: Separate sealed sterile items from opened items, and separate active prep space from disposal space.
- Time-sequencing: Finish one clean step before the next begins. Don’t move backward in the process once a tool or hand has contacted a less-clean surface.
Practical rule: The safest workflow is the one that removes decisions in the moment.
That’s also why structured training matters. If you want a useful non-medical primer on how professionals think about surfaces, cleaning order, and contamination barriers, an infection control for cleaning course is worth skimming for mindset alone. The value isn’t that it teaches peptide prep. It teaches discipline.
The mindset that lowers risk
Treat your prep routine like a checklist-driven protocol, not a casual task. You aren’t trying to look sterile. You’re trying to reduce transfer opportunities.
A clean room with sloppy sequencing is still risky. A modest home setup with strict sequencing, dedicated tools, and consistent habits is usually much safer.
Building Your Sterile Workspace
A home prep session usually goes wrong before the vial is even opened. The failure point is rarely the peptide itself. It is the extra reach for a pen, the phone on the counter, the vent blowing across the surface, or the moment you realize the sharps container is in another room.

Professional labs reduce this risk with airflow control, strict separation, and fewer unnecessary touches. A home setup cannot copy all of that. It can still apply the same logic. The goal is to build a prep station that makes the correct sequence easy and the sloppy sequence awkward.
Choose one repeatable prep zone
Use one surface for peptide work and keep it consistent. A small desk, side table, or a cleared section of counter works if you can fully control it for the entire session.
Pick a low-traffic area. Keep it away from food prep, open windows, pets, laundry, and any vent that blows directly over the workspace. Air movement matters more than many home users realize because it adds dust and encourages casual reaching to steady lightweight items.
I prefer a setup that stays simple enough to reset in two minutes but specific enough that nothing else belongs there. That trade-off matters. A dedicated room is ideal, but often unavailable. A dedicated, repeatable surface is usually enough if the rules stay strict.
Use this preflight checklist:
- Clear the area: Remove unrelated objects first. Phones, keys, mugs, wallets, mail, supplements, and chargers do not belong in the prep field.
- Clean the surface: Wipe the workspace and let it dry completely before arranging supplies.
- Stage every item before starting: Set out vials, diluent, fresh syringes, alcohol pads, labels, and the sharps container in advance. If you need a mixing reference, keep this guide to mixing peptides with bacteriostatic water available before you begin, not halfway through.
- Control shedding: Wear clean clothing, avoid fuzzy sleeves, and tie back hair if needed.
- Wash hands thoroughly: Dry them fully before gloving so the gloves go on cleanly and do not tear.
Keep the layout intentional
Good sterile technique at home is mostly layout discipline. I separate the workspace into three zones: unopened sterile items, active prep items, and waste. That single decision cuts down on hand crossings, wrapper clutter, and the chance that a used item drifts back into the clean area.
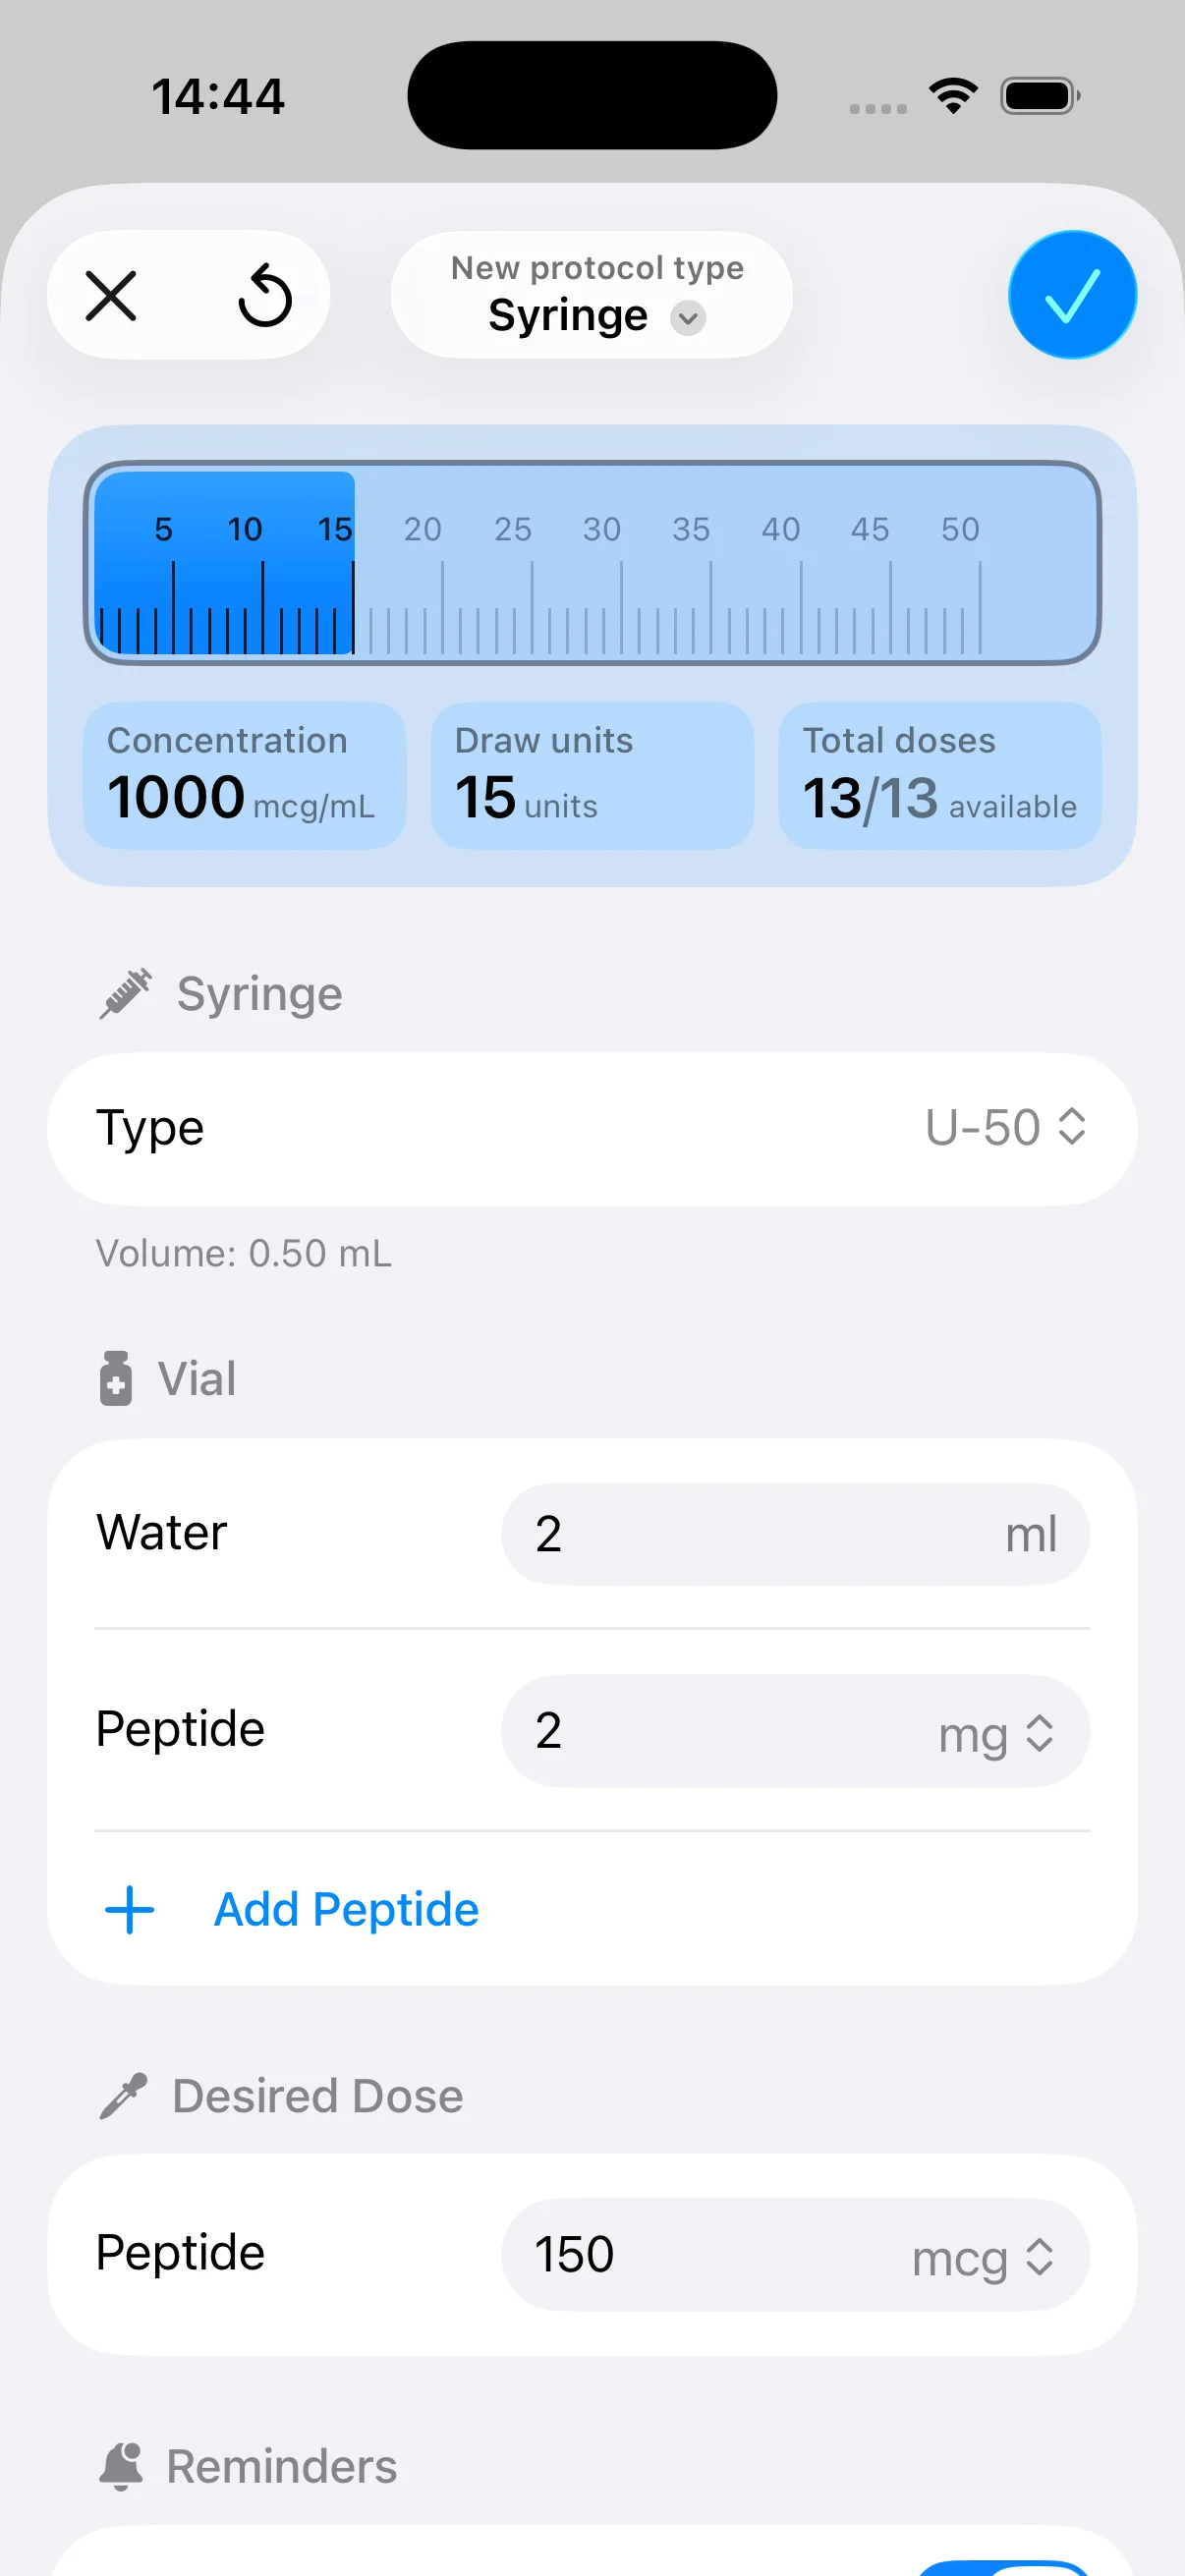
A tray or mat helps because it gives the clean zone a hard boundary. Once an item leaves that boundary, it does not come back unless it is still sealed and untouched. This is also where a tracking tool like PepFlow earns its place. Logging doses, reconstitution details, and timing in an app reduces memory errors and keeps your hands off paper notes and random household surfaces during prep.
Keep supplies simple and specific
A strong home setup does not need a long shopping list. It needs a short list of items that each have a clear job.
| Item | Why it matters |
|---|---|
| Powder-free nitrile gloves | Lowers direct hand transfer and avoids powder residue |
| Alcohol prep pads | Useful for vial stoppers and skin prep when appropriate |
| Fresh sterile syringes and needles | Prevents carryover from prior use |
| Sharps container | Keeps used needles out of the clean field |
| Clean tray or mat | Defines the active prep zone |
| Labels and pen | Prevents mix-ups after reconstitution |
If you want broader background on cleaning reusable tools versus using sterile disposables, understanding medical equipment sterilization is useful context. The practical takeaway is simple. Looking clean is not the same as being safe to use.
The workspace should let you finish the full sequence without leaving your seat.
Reduce touches before they happen
Contamination control starts before disinfection. It starts with removing chances to touch the wrong thing in the first place.
Open wrappers only when the item is needed. Do not rotate the vial through your hands while thinking. Do not set caps down on the mat and pick them back up. Do not check a text, answer a notification, or grab a supplement bottle during prep. Each extra contact is a new exposure point, and human error is still the main contamination vector in home handling.
The focus is often on disinfection, but it matters just as much to stop creating new exposure points. That is the standard that turns a clean-looking setup into a reliable system.
The Aseptic Reconstitution Protocol
Reconstitution is where small mistakes matter most. Technical guidance on sample integrity warns that contamination risk often comes from small handling errors, not just visibly poor sanitation. It also recommends minimizing sample-prep time and using disposable, powder-free gloves because carryover from tools, tubing, and even filter paper can compromise a sample, as explained in this contamination analysis.

The practical consequence is simple. Reconstitution should be calm, linear, and boring. If you’re improvising, pausing to search for supplies, or touching extra surfaces, you’re increasing risk.
The strict sequence
Follow a fixed order every time:
- Lay out only what you need. Put the peptide vial, bacteriostatic water or other appropriate diluent, fresh syringe, alcohol pads, and label in the clean zone.
- Check the containers before opening anything. If the vial looks damaged, compromised, or questionable, don’t proceed.
- Swab both vial tops. Clean the rubber stopper on the peptide vial and the diluent vial with separate alcohol pads, then let them air dry.
- Use a fresh syringe to draw diluent. Don’t let the needle contact the table, your glove, or any non-sterile item.
- Inject slowly into the peptide vial. Aim the stream down the inside wall of the vial instead of blasting directly onto the powder.
- Let the contents settle. If needed, gently swirl. Don’t shake aggressively.
- Inspect the solution. Look for clarity, unexpected particles, or unusual appearance before storing.
For a deeper walkthrough focused specifically on mixing technique, this guide on how to mix peptides with bacteriostatic water is a useful companion reference.
What people get wrong
Most contamination doesn’t come from one huge blunder. It comes from shortcuts that feel harmless.
- Reusing a syringe: Never do it. A syringe used once is no longer part of the clean supply.
- Wiping and puncturing immediately: Let the alcohol dry. Wet surfaces can undermine the point of the wipe.
- Touching the needle after unwrapping: If you contaminate it, replace it.
- Shaking the vial hard: That adds stress you don’t need and turns a careful dissolve into a rough one.
- Leaving mid-protocol: If you forgot something, the process is no longer controlled. Reset the field before continuing.
Slow is sterile. Rushed hands are usually the contaminant.
The sequence below is worth seeing in motion before you do it yourself.
A practical decision table
| Situation | Best response |
|---|---|
| Needle touched the counter | Discard it and start with a fresh sterile one |
| You forgot to swab one stopper | Pause and re-clean before puncturing |
| Powder isn’t dissolving instantly | Let it rest, then gently swirl if needed |
| You opened extra supplies by mistake | Keep unopened sterile items separate from active waste |
| You had to leave the area | Reassess the setup and reset if the clean field was broken |
People often overestimate their memory in this stage. Don’t rely on recall. Use the same order every time.
One more thing that matters
Avoid adding unnecessary prep steps. The more transfers, filters, container swaps, and side maneuvers you add, the more contamination opportunities you create. A shorter, cleaner path is usually the safer path.
Safe Storage and Vial Handling
Clean reconstitution doesn’t protect a vial indefinitely. Once the solution is made, every later interaction can either preserve that work or undo it.

Storage discipline matters because contamination isn’t only a prep problem. It’s a repeated-access problem. Every puncture of the stopper, every unnecessary movement in and out of storage, every unlabeled vial, and every moment spent guessing what was mixed when adds avoidable risk.
Treat the stopper like the front door
The vial stopper is the barrier between the contents and everything outside it. If you puncture it repeatedly without cleaning it first, you’re relying on luck.
Use this routine every time the vial comes out:
- Take it out briefly: Handle it only as long as needed.
- Inspect before use: If the solution looks off, stop there.
- Swab the stopper before each puncture: Don’t assume it stayed clean in storage.
- Use a fresh needle each time: The vial should never meet a previously used needle.
- Return it promptly: Don’t leave it sitting around while you do unrelated tasks.
If you skip stopper hygiene on later uses, you’ve turned careful reconstitution into a one-time performance.
Storage rules that prevent dumb failures
A vial doesn’t need drama to go bad. It just needs inconsistent handling.
Keep these rules mandatory:
- Refrigerate promptly: Don’t let a reconstituted vial sit out longer than necessary.
- Protect it from light: Keep it in appropriate packaging or a dark spot in the fridge.
- Label it clearly: Include the compound identity and the date you prepared it.
- Store it upright when practical: That reduces sloshing against the stopper and keeps handling tidy.
- Avoid “just for now” placement: A random fridge shelf next to food clutter is not a system.
If you want a peptide-specific storage reference, this article on how to store reconstituted peptides covers the operational side well.
The real trade-off
People cut corners here because storage feels passive. It isn’t. The moment you start treating the vial like an object you can casually toss in, pull out, and repuncture without a ritual, contamination control weakens.
Preparation gets most of the attention because it’s the dramatic part. Storage is quieter, but it’s where consistency either holds or falls apart.
From Vial to Injection Site Hygiene
The last sterile link is the one many people rush. They handle the vial carefully, then get sloppy when drawing the dose or prepping the skin. That’s backwards.
At this stage, think in terms of one uninterrupted chain. Clean vial access, accurate draw, fresh needle, clean site, immediate disposal. If any part feels improvised, slow down and reset.
Drawing the dose without creating avoidable problems
Start by bringing the vial out only when you’re ready to use it. Swab the stopper and let it dry. Use a fresh syringe and keep the needle away from the table, your fingers, and packaging debris.
Then draw deliberately:
- Insert with control: Don’t jab wildly or torque the stopper.
- Keep the vial stable: Less movement means fewer accidental touches.
- Pull the dose carefully: Accuracy matters, but so does preserving a calm hand.
- Check the syringe visually: If something looks wrong, don’t rationalize it.
If you’re adjusting your process to avoid confusion, separate the draw step from everything else. Don’t clean the site, answer a message, move a bottle, and then return to a half-finished syringe.
Fresh means fresh
A used needle has no place in a sterile workflow. Not for redrawing. Not for “just one more use.” Not for correcting a small mistake.
That rule protects both the vial and your body. Re-entering a vial with a previously used needle is the kind of shortcut that feels minor until it isn’t.
Injection site hygiene is its own control point
People often lump site prep into generic “be clean” advice. That misses the point. The skin is a separate contamination boundary and deserves its own ritual.
Use a clean prep pad on the chosen site and let it dry before injection. Don’t touch the cleaned area again with your fingers. Don’t prep it and then wander off. If you do, clean it again.
A good sequence looks like this:
- Set out the fresh syringe
- Clean the vial stopper and draw the dose
- Switch focus to the site
- Clean the skin and let it dry
- Administer without touching the cleaned field
- Dispose of the used sharp immediately
The final contamination point is usually not the bottle on the table. It’s the rushed hand at the moment of use.
What doesn’t work
A lot of home routines fail because they combine clean and dirty actions too closely. Common examples include placing a capped syringe on an uncleared surface, setting the vial down on clutter, or handling the injection site after cleaning it.
Another weak habit is building a routine around confidence instead of rules. Familiarity doesn’t make a process cleaner. Repetition only helps if the repetition is correct.
Keep disposal separate from preparation
Your sharps container shouldn’t sit in the middle of the clean field. It should be close enough for immediate disposal, but clearly outside the active prep zone. Used wrappers, pads, and needles should move one direction only, away from the clean workflow.
That physical separation matters. Once waste starts drifting back into the same area as fresh supplies, your system stops being a system.
Logging Doses and Spotting Contamination
It is often assumed that contamination control ends once the dose is taken. It doesn’t. High-reliability systems always include verification.

Food-contact sanitation guidance emphasizes a validated clean, rinse, sanitize, air-dry sequence and notes that surfaces in continuous use should be washed, rinsed, and sanitized at least every 4 hours, with other food-contact surfaces cleaned when contaminated and at least every 24 hours if left at room temperature. Of note for peptide users, that same guidance stresses routine hygiene verification rather than relying on visual cleanliness alone because residual soil can inactivate sanitizers and allow biofilm formation. The lesson transfers cleanly: a process is only trustworthy when you verify it.
Why logging matters
A written or digital log does three things that memory can’t do reliably.
- It creates traceability: You know which vial was used, when it was opened, and what happened at each dose.
- It exposes inconsistency: Missed doses, confusing intervals, and duplicate draws become visible instead of fuzzy.
- It helps you catch risk earlier: If a vial starts looking questionable, your record tells you how long it’s been in use and how often it’s been accessed.
This is also why peptide users should learn about peptide purity testing. Purity and contamination aren’t the same issue, but the mindset overlaps. You want evidence, not assumptions.
What to log every time
Keep it simple enough that you’ll follow through.
| Log item | Why keep it |
|---|---|
| Date and time | Helps track sequence and spacing |
| Vial identifier | Prevents confusion if more than one vial exists |
| Dose drawn | Reduces math and recall mistakes later |
| Any unusual observation | Creates a record if appearance changes over time |
| Site used | Useful for keeping your routine organized |
A sloppy process hides inside vague memory. A logged process leaves fewer places for error to hide.
What contamination can look like
Visual inspection is not a complete safety test, but it’s still a necessary habit. Look at the vial before every use.
Stop using it if you notice:
- Cloudiness that wasn’t expected
- Floating particles or visible debris
- Color change
- Anything that looks different from prior checks
When a vial looks questionable, the right move is restraint, not optimism.
The hard rule is simple. If you’re unsure whether a vial is still acceptable, don’t argue with yourself. Discard it and protect the rest of the workflow.
Reliable routines are rarely glamorous. They’re documented, repeatable, and a little boring. That’s exactly why they work.
PepFlow helps turn that kind of boring precision into a daily habit. If you want cleaner dosing math, a consistent schedule, and a simple way to log each use without juggling notes and reminders, PepFlow is built for that job. It won’t replace sterile technique or medical guidance, but it can reduce avoidable human error in the parts of the process that are easiest to forget.