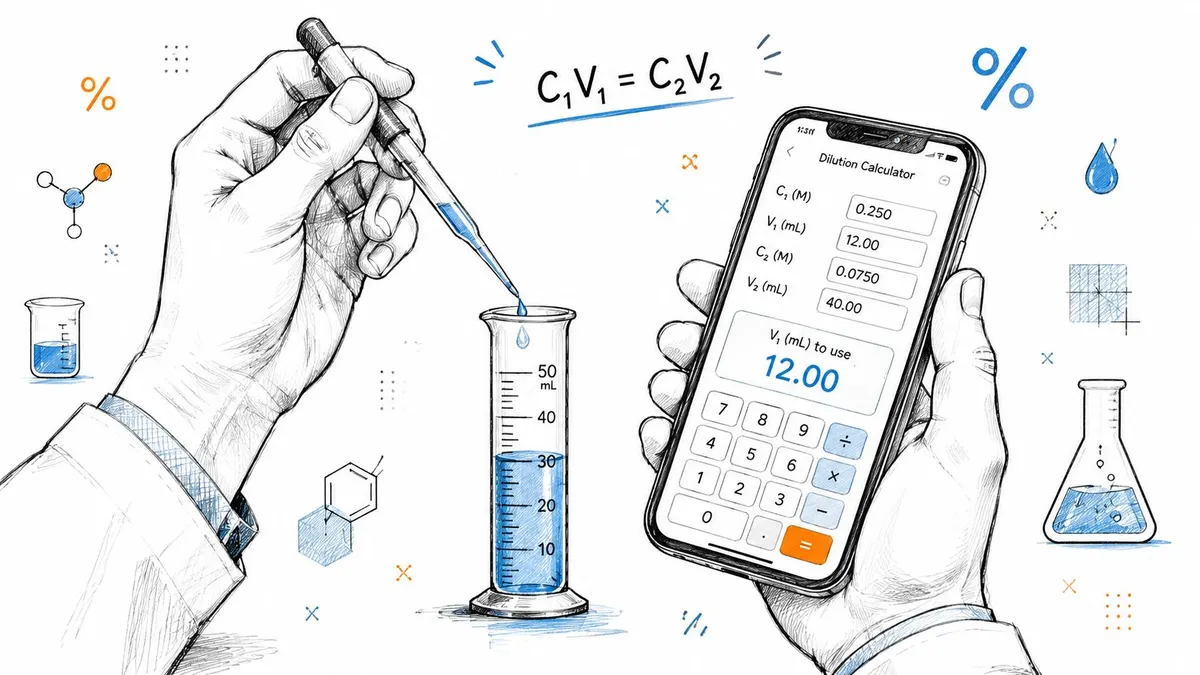
You’re staring at a vial, a syringe, and a protocol that seem to speak different languages. The label gives a percent concentration, while your notes call for a target volume or a mass per milliliter. You know the solution needs diluting, but one rushed calculation could leave you with the wrong concentration, an unusable preparation, or a safety problem.
A reliable dilution calculator percent workflow starts before you enter anything into a calculator. First identify what the percent means, then make the units agree, calculate the stock volume, and verify the result against the physical preparation. The arithmetic is usually simple. The mistakes happen when people assume that every percent means the same thing, confuse final volume with solvent volume, or round before the calculation is finished.
Table of Contents
- Why Percent Dilution Accuracy Matters
- Understanding Percent Concentration Types and the Core Formula
- Worked Examples for Real-World Dilution Scenarios
- Manual Calculation Versus Using a Dilution Calculator App
- Common Dilution Mistakes and How to Catch Them
- Your Dilution Preparation Checklist
Why Percent Dilution Accuracy Matters
A concentrated stock solution is the material you already have. A working solution is the weaker preparation you plan to use. Dilution means taking a measured amount of the stock and adding a compatible solvent or base until the mixture reaches the desired final concentration and volume.
That sounds straightforward until a label reads in percent and the protocol uses another unit. A person preparing a reagent may see a percent value, reach for a syringe, and calculate only the solvent volume without checking whether the stated concentration is weight per volume or volume per volume. Someone reconstituting a dry powder faces a related problem: the amount of material is fixed, but the volume of solvent determines the resulting concentration.
The core mental model is simple:
- Stock concentration: How much solute exists in a known amount of the starting solution.
- Target concentration: How much solute should exist in the finished solution.
- Final volume: The total volume after mixing, not merely the amount of solvent added.
- Dilution factor: The relationship between the stock concentration and the target concentration.
If the target is weaker than the stock, you’ll generally use a smaller amount of stock and a larger amount of diluent. If your calculation asks for more stock than the intended final volume, stop. That result usually signals a unit mismatch, an incorrectly interpreted label, or a target that cannot be reached by dilution alone.
Practical rule: Never draw liquid until you can state the stock type, target type, matching units, and final volume in one sentence.
Accurate concentration matters because the finished solution affects every later measurement. An overly concentrated reagent can change an assay result. An underconcentrated preparation can fail to perform as intended. In peptide or supplement workflows, an incorrect concentration can also make syringe markings or dose calculations misleading.
Treat the calculation as part of the preparation, not as a separate paperwork task. Write down the stock label, the target, the units, and the date. That record gives you something to audit when a result looks unusual.
Understanding Percent Concentration Types and the Core Formula
The percent symbol alone doesn’t tell you how a solution was measured. You need the expression attached to it.
Weight per volume, or w/v, describes the mass of solute in a stated volume of finished solution. A solution labeled as a w/v percentage is commonly interpreted as grams of solute per one hundred milliliters of solution. This format often appears on reagent, laboratory, and clinical solution labels.
Volume per volume, or v/v, describes the volume of liquid solute in a stated volume of finished mixture. It’s common when both the solute and the final mixture are measured by volume, such as an alcohol-containing preparation.
Weight per weight, or w/w, describes the mass of solute relative to the total mass of the finished mixture. This format matters when the preparation is made and measured by mass, especially when density makes volume-based assumptions unreliable.
| Type | Definition | Common use case |
|---|---|---|
| w/v | Solute mass per final solution volume | Solid dissolved into a liquid |
| v/v | Solute volume per final mixture volume | Liquid blended with a liquid |
| w/w | Solute mass per total mixture mass | Preparations measured by mass |
For a broader discussion of why concentration labels matter when assessing understanding staph bacteria risks, check the linked background resource. The important lesson is that you must preserve the same concentration basis throughout a dilution calculation.
The familiar formula is:
C₁V₁ = C₂V₂
- C₁ is the stock concentration.
- V₁ is the volume of stock required.
- C₂ is the target concentration.
- V₂ is the final volume.
To solve for the stock volume:
V₁ = (C₂ × V₂) ÷ C₁
Suppose a w/v stock is being diluted to a weaker w/v target. Keep both concentrations in percent and both volumes in the same unit. The result for V₁ is the volume of stock to use. The amount of diluent is then determined by bringing the mixture to the final volume, rather than automatically adding the full final volume as solvent.
For v/v preparations, the structure is identical, but the physical meaning changes. A liquid volume is being diluted to a final liquid volume, so the stock and target percentages must both be v/v. For w/w preparations, use compatible mass units and a final mixture mass. Don’t substitute milliliters for grams unless the method provides a valid density relationship.
A useful companion explanation is this guide to calculating final concentration. It reinforces the habit that concentration and volume must describe the same preparation on both sides of the equation.
Worked Examples for Real-World Dilution Scenarios
The safest way to learn a dilution calculator percent method is to work through the entire chain, including the check afterward. The following examples are mathematical illustrations. For any preparation intended for administration, follow the applicable professional, product, and facility instructions.
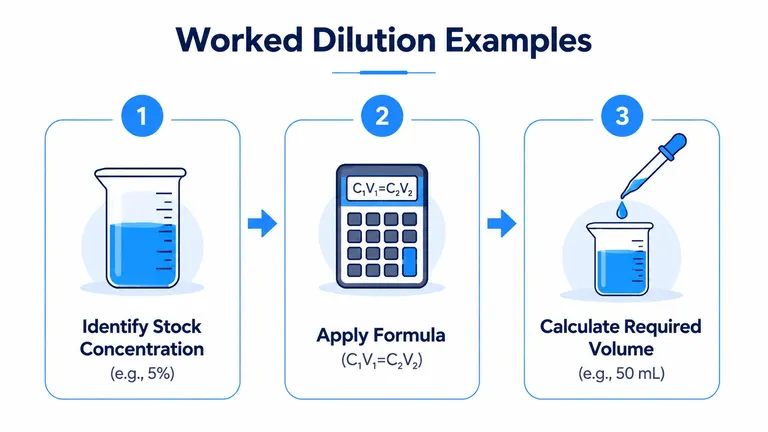
Diluting a percent-based stock
Suppose you have a 5% stock solution and need a 1% working solution with a final volume of 50 mL. Because both concentrations use the same percent basis, apply the formula directly:
V₁ = (1% × 50 mL) ÷ 5%
The required stock volume is 10 mL. Bring that stock to a final volume of 50 mL with the appropriate diluent. The solvent amount is therefore the difference between the final volume and the stock volume, not an additional 50 mL.
Verification: The target is weaker than the stock, so the stock volume should be smaller than the final volume. The concentration ratio also indicates that the stock is diluted by a factor of five, which matches the relationship between the two percentage values.
For handling and preparation precautions, consult this practical chemical dilution safety guide.
Converting percent to mass per volume
For a w/v percentage, translate the label into mass per final volume before using it in a protocol that requests milligrams per milliliter. A w/v percentage represents grams of solute per one hundred milliliters of finished solution. Convert grams to milligrams and then divide by the corresponding volume in milliliters.
The key is not to treat a percent as a dimensionless number once you need mg/mL. A w/v label carries a mass and volume relationship. A v/v label doesn’t convert to mg/mL without additional information, such as the solute’s density and, where relevant, its composition.
Verification: Write the converted unit beside the original label. If the label says w/v, your conversion should retain a mass-per-volume unit. If it says v/v, stop and identify the density information before attempting a mass conversion.
Reconstituting a dry powder
Reconstitution starts with a fixed amount of dry material and a chosen solvent volume. If the target is a w/v concentration, determine the mass required for the desired final volume, then select a solvent volume that produces that final concentration after the powder dissolves.
Don’t assume the volume of solvent added always equals the final solution volume. Dissolved material can affect the final volume, and some protocols specify adding solvent to a final mark rather than just adding a measured amount. Read the preparation instructions carefully and use the stated definition of final volume.
For more discussion of solvent selection and reconstitution calculations, see how much reconstitution solution to use.
Verification: Rearrange the result back into concentration. Divide the total solute amount by the intended final volume and confirm that the result matches the target basis, such as w/v. If the calculation produces a volume that seems physically implausible, pause and recheck the label and units before proceeding.
Manual Calculation Versus Using a Dilution Calculator App
Manual math is perfectly reasonable when the problem is short, the units are clear, and you have time to review the work. The formula also matters because a calculator can only process the values you enter. It can’t recognize that you selected v/v when the protocol requires w/v.
A paper workflow might look like this:
- Write C₁, V₁, C₂, and V₂.
- Confirm that both concentrations use the same basis.
- Convert units before substituting values.
- Solve for the unknown volume.
- Calculate the amount of diluent needed to reach the final volume.
- Substitute the answer back into the equation.
This method leaves a visible audit trail. A second person can inspect the setup, and you can see whether the error came from the interpretation, conversion, or arithmetic.
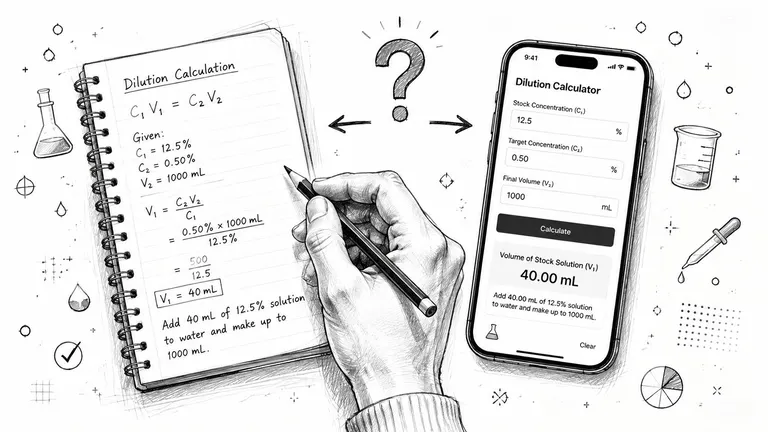
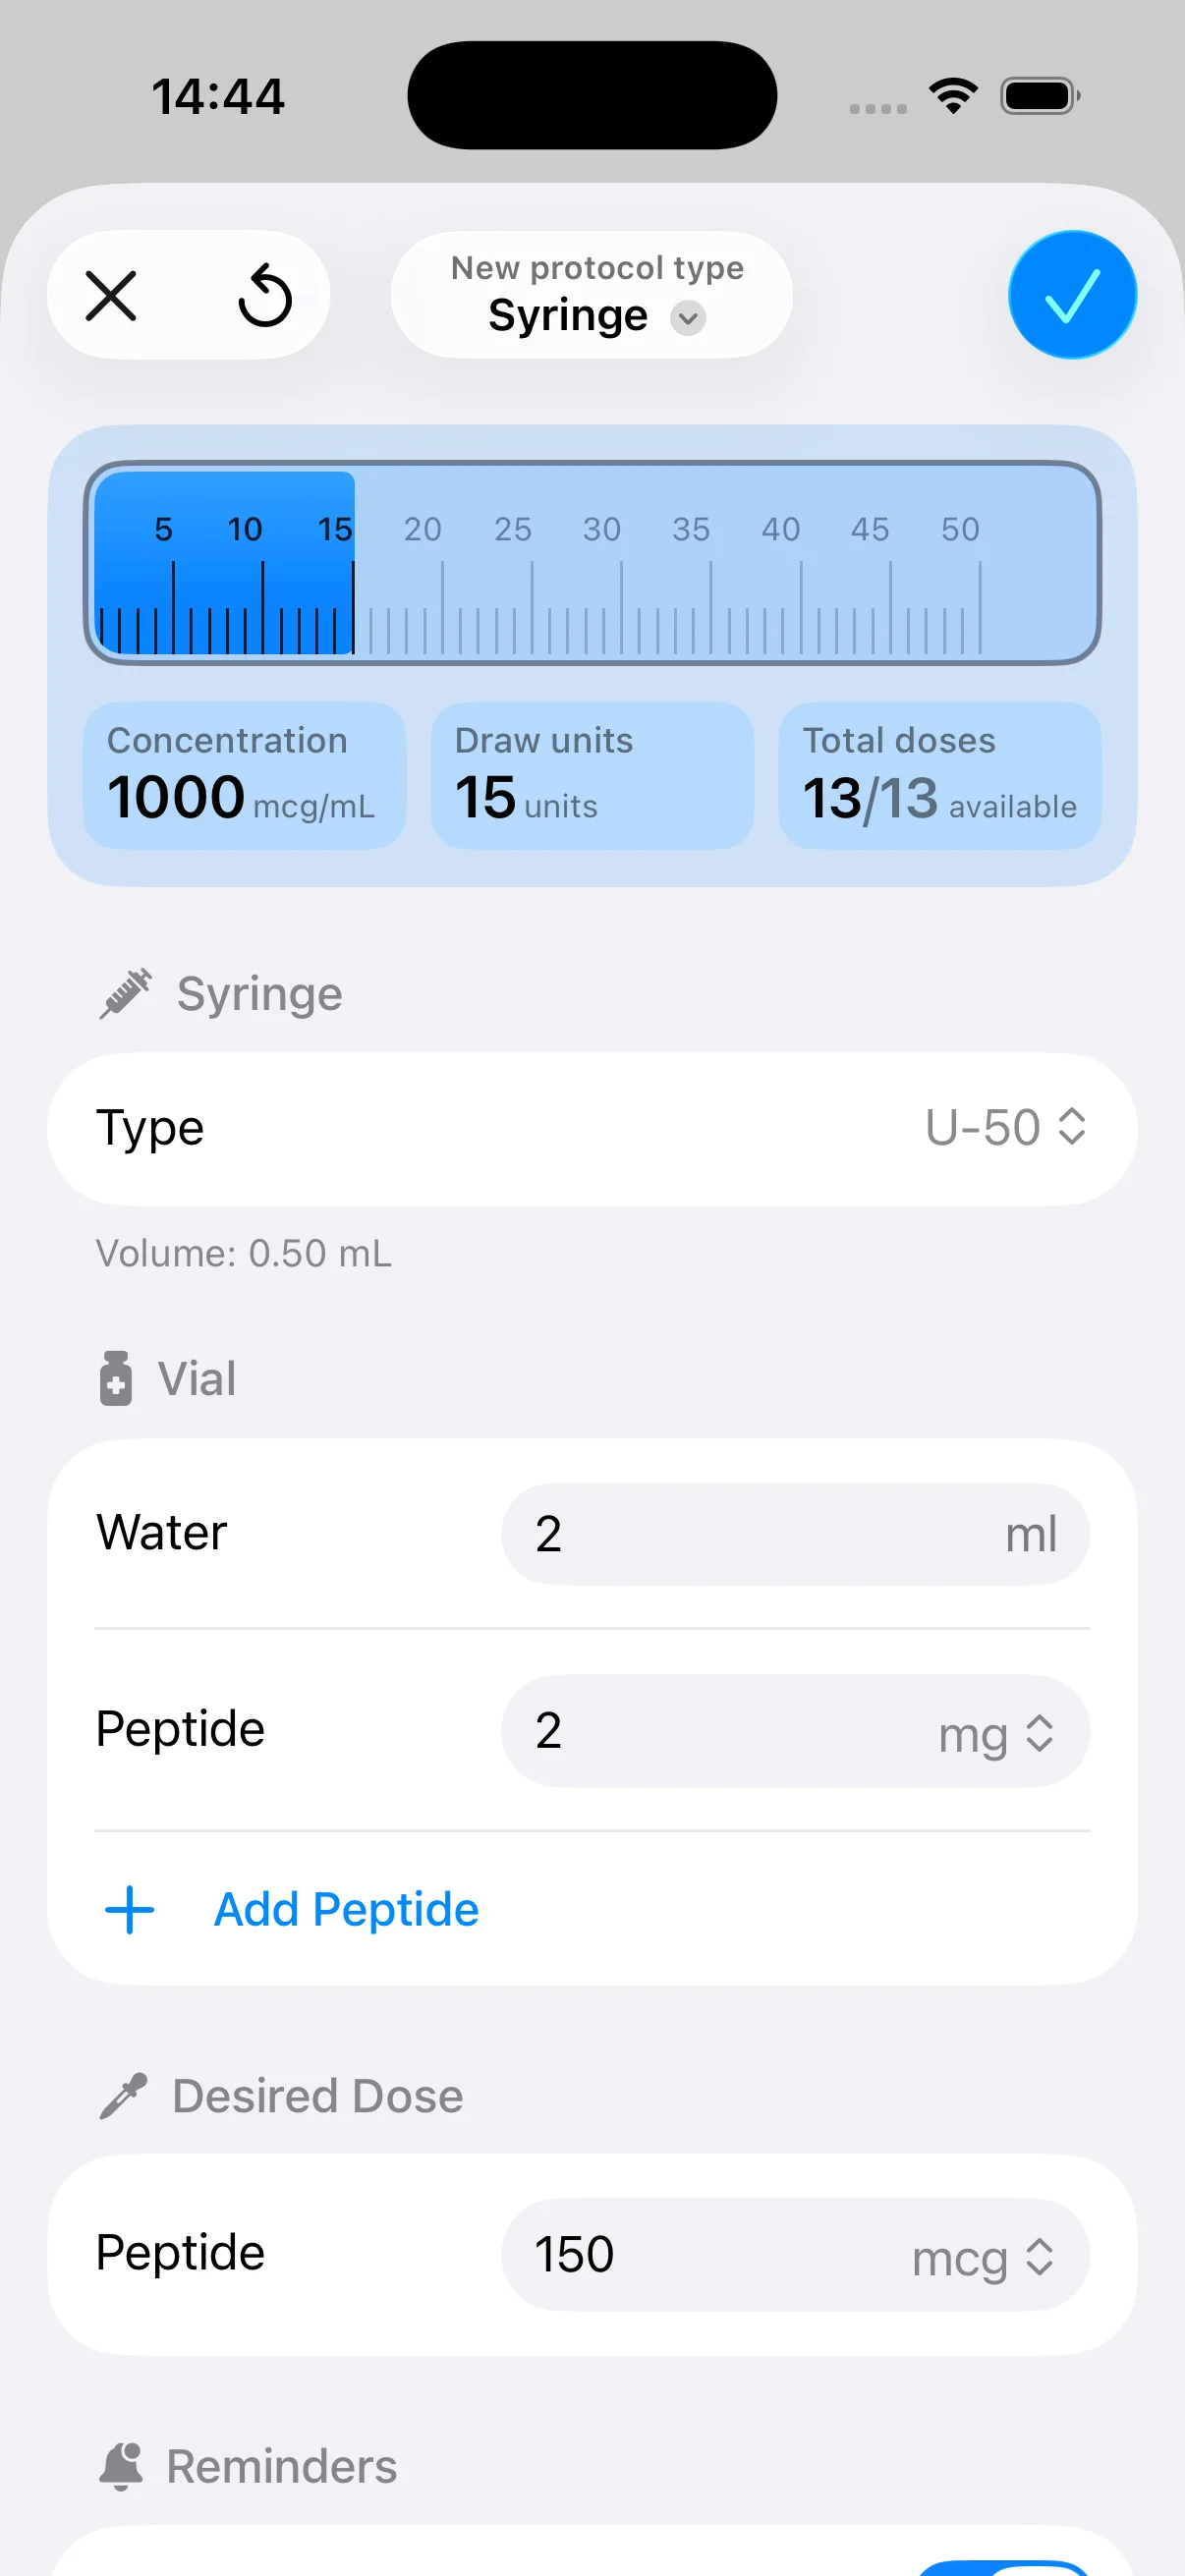
A digital tool changes the workflow, not the responsibility. You enter the stock concentration, target concentration, and desired final volume, then inspect the resulting stock and diluent amounts. A dedicated tool such as PepFlow is designed for peptide concentration and dose planning, including vial amount, added solution volume, target dose, and resulting draw volume. It should be used as a calculation aid, with professional guidance still governing any medical or injectable use. You can compare that workflow with this peptide calculator app guide.
Choose manual calculation when the preparation is simple and you can perform a deliberate check. Use a calculator when you’re repeating preparations, working with several inputs, or likely to make transcription mistakes under pressure. In either case, keep the original label and your final calculation together.
Common Dilution Mistakes and How to Catch Them
Most dilution errors aren’t caused by difficult algebra. They happen when someone makes a reasonable assumption that doesn’t apply to the label in front of them.
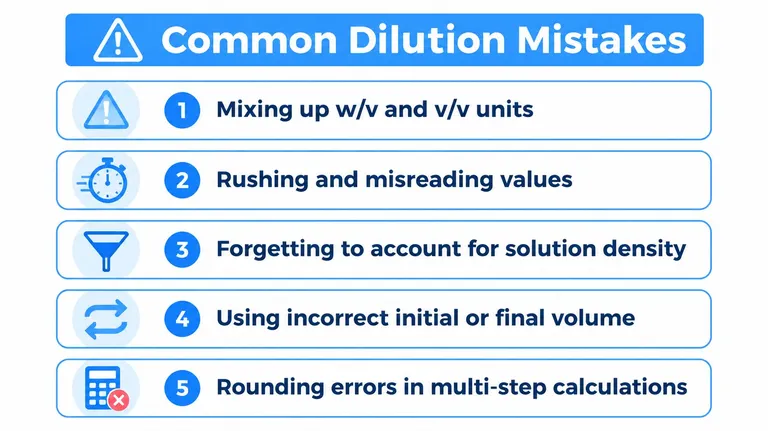
- Mixing up w/v and v/v units: A person sees the same percent symbol and treats mass-based and volume-based concentrations as interchangeable. Check: Circle the concentration basis on the label before calculating.
- Mismatching milliliters and liters: The equation can produce a numerically neat answer even when one volume uses milliliters and the other uses liters. Check: Write the unit after every volume and make V₁ and V₂ match.
- Using solvent volume as final volume: Adding the calculated stock amount to the full target volume creates an oversized, overconcentrated mixture. Check: Remove or reserve the stock volume when the instructions require a fixed final volume.
- Misreading the stock label: A decimal, unit abbreviation, or concentration basis can be overlooked during a rushed preparation. Check: Read the label aloud and compare it with the protocol before opening the vial.
- Rounding too early: Early rounding can distort later steps, particularly when several conversions are chained together. Check: Keep extra digits during the calculation and round only the final measurable quantity.
The density warning deserves special attention. A w/w or v/v preparation may require information that a simple percent dilution equation doesn’t provide. If density, purity, or final-volume behavior matters, use the method specified by the manufacturer or laboratory supervisor instead of forcing the problem into a w/v shortcut.
Review this short video as a visual refresher before practicing:
Your Dilution Preparation Checklist
Use this sequence before every percent-based preparation:
- Read the stock label: Record the concentration and whether it is w/v, v/v, or w/w.
- Write the target: Include the desired concentration, final volume, and matching units.
- Choose the method: Use C₁V₁ = C₂V₂ when the concentration basis remains consistent.
- Calculate stock volume: Solve for V₁ and keep units beside each value.
- Check the result: Confirm the stock amount is physically sensible and the target is weaker than the stock.
- Determine diluent volume: Add solvent only as needed to reach the stated final volume.
- Measure and mix: Follow the applicable handling, compatibility, and aseptic instructions.
- Label the preparation: Include concentration, basis, date, and any required identifying details.
- Record the history: Note the source, calculation, preparation conditions, and storage instructions.
Store the finished solution exactly as the product or laboratory procedure requires. Consistent records make it easier to identify a preparation error before it affects later work.
If you regularly calculate peptide concentrations, reconstitution volumes, or practical draw amounts, PepFlow can organize those inputs and display the resulting concentration and volume for your plan. Visit PepFlow to review its calculator and scheduling features, then verify every preparation against your product instructions and qualified professional guidance.