You’re holding a peptide vial, a container of bacteriostatic water, and an insulin syringe, trying to answer one deceptively simple question: how much reconstitution solution should go into the vial? The answer isn’t a universal recipe. It depends on the amount of peptide in the vial, your intended dose, and how easily you can read the resulting draw volume on your syringe.
The practical choice is a tradeoff between concentration and usability. A smaller amount of diluent creates a stronger solution and a smaller draw. A larger amount creates a weaker solution and a larger draw that may be easier to measure. Recent reconstitution guidance commonly discusses 1 mL, 2 mL, and 3 mL options, while noting that many subcutaneous protocols aim for a draw volume around 0.1 to 0.5 mL. (Peptide Research, PeptideRecon safety guide)
Table of Contents
- Understanding the Numbers on Your Vial and Syringe
- The Core Math Behind Reconstitution Volume
- Choosing Between 1 mL, 2 mL, and 3 to 5 mL Diluent Volumes
- Worked Examples for Common Vial Sizes and Doses
- Why More Diluent Isn’t Always Safer
- Using PepFlow’s Calculator and Scheduler to Remove the Math
- Quick Decision Checklist and Final Safety Notes
Understanding the Numbers on Your Vial and Syringe
A first-time setup may include a vial labeled 10 mg, bacteriostatic water, and a 1 mL insulin syringe. The equipment looks simple until each item uses a different unit. Reading the label and identifying the syringe scale must come before any calculation.
Read the vial before touching the math
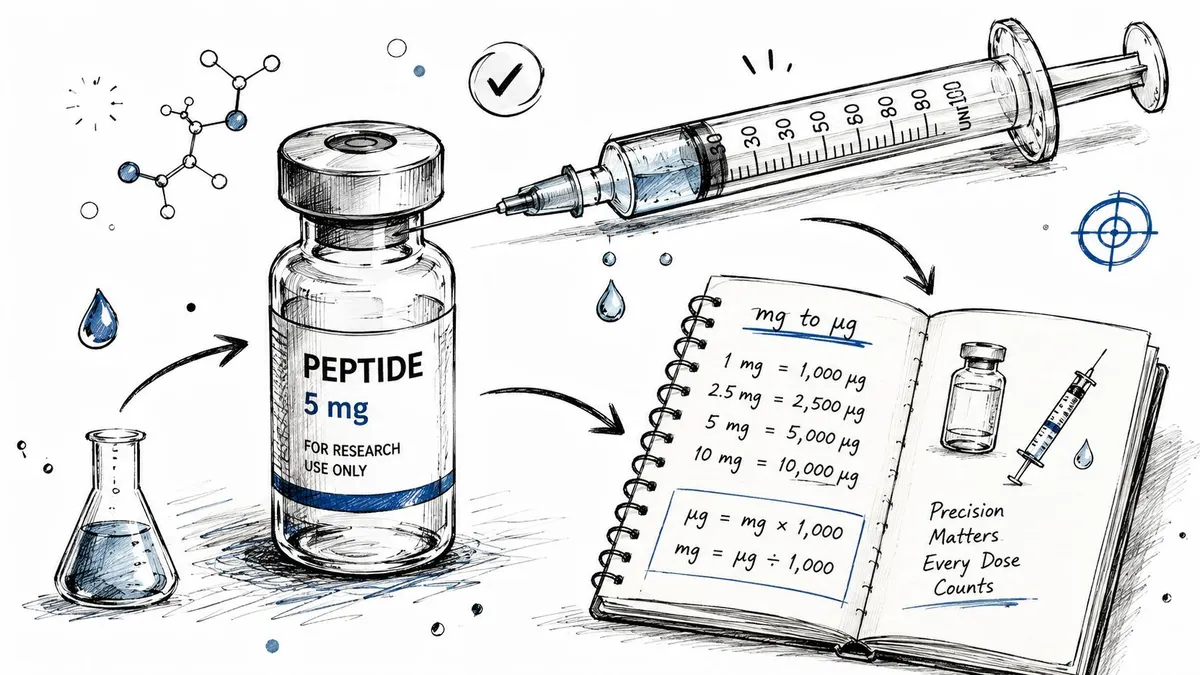
Milligrams, or mg, describe mass. Micrograms, or µg, also describe mass, but one milligram equals 1,000 micrograms. A dose written in micrograms therefore needs conversion before you divide it by a concentration written in milligrams per milliliter.
International Units, or IU, measure biological activity rather than mass. Their relationship to milligrams depends on the substance. For the HGH example used in common dosing references, 1 IU is roughly 0.33 mg. Do not apply that conversion to another peptide unless its labeling confirms the relationship.
A vial marked 10 mg states the total peptide amount in the vial. It does not state the final concentration. That concentration changes with the amount of diluent added, so the same vial can produce different draw volumes after reconstitution.
If semaglutide is the preparation, how to mix semaglutide offers a separate way to compare vial labeling, diluent, and syringe measurements. Treat outside material as a reference, then follow the product instructions and qualified medical guidance for the specific preparation.
Understand syringe markings
An insulin syringe measures liquid volume, but its barrel may show units instead of milliliters. A 1 mL syringe can use a different graduation system from a smaller barrel, and a 30-unit syringe does not cover the same total range as a 100-unit syringe.
The same-looking mark on two syringes may therefore represent different volumes. Check whether your syringe displays milliliters, insulin-style units, or both. Then match the calculated milliliter volume to that particular barrel.
A common error is switching between mg, µg, mL, and syringe units mid-calculation. Write down the vial mass, planned diluent volume, dose unit, and syringe scale first. Keep those units visible until the final draw measurement is identified. This simple record prevents a correct arithmetic operation from producing the wrong syringe mark.
The Core Math Behind Reconstitution Volume
The entire calculation rests on two formulas:
Concentration = total peptide mass ÷ diluent volume
Draw volume = desired dose ÷ concentration
The first formula tells you how much peptide is present in each milliliter. The second tells you how many milliliters to draw for your target dose. The final concentration calculator guide presents the same basic logic in a tool-oriented format.
Example one, calculate concentration
Suppose a vial contains 5 mg of peptide and you add 2 mL of diluent.
5 mg ÷ 2 mL = 2.5 mg/mL
That result means every milliliter contains 2.5 mg of peptide. It doesn’t mean the vial contains more peptide than it started with. You’ve changed the concentration, not the total peptide mass.
Sanity check: 2.5 mg/mL multiplied by 2 mL returns the original 5 mg.
Example two, calculate the draw
Now convert a target dose of 250 µg into milligrams:
250 µg ÷ 1,000 = 0.25 mg
Use the concentration from the first example:
0.25 mg ÷ 2.5 mg/mL = 0.10 mL
So the required draw is 0.10 mL.
Sanity check: 0.10 mL is less than the 2 mL of diluent added, and multiplying 0.10 mL by 2.5 mg/mL gives 0.25 mg, or 250 µg.
Keep the units visible on paper. If you divide micrograms by milligrams without converting first, the decimal point will be wrong even if the arithmetic looks clean. Likewise, if your calculated draw is larger than the available liquid, stop and check the units and concentration before proceeding.
Choosing Between 1 mL, 2 mL, and 3 to 5 mL Diluent Volumes
You have a 10 mg vial, a target dose of 250 µg, and an insulin syringe in hand. The decision is not a recipe to copy blindly. It is a choice about where that dose will appear on the syringe. Less diluent makes a more concentrated solution and a smaller draw. More diluent makes a larger draw that may be easier to read, while using more liquid in the vial.
Common choices include 1 mL, 2 mL, and 3 mL, with 2 mL often serving as a practical middle ground. The right volume still depends on the preparation, protocol, and the syringe graduations you will use. The BAC water reconstitution guide provides related guidance on preparing a vial with bacteriostatic water.
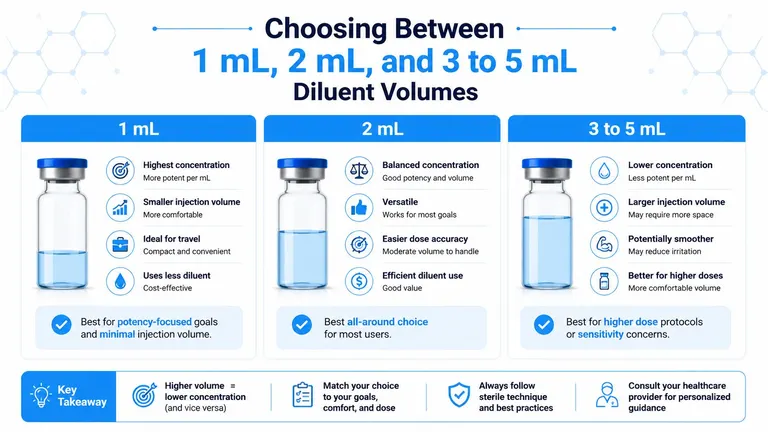
For the same 10 mg vial and 0.25 mg target, the arithmetic looks like this:
| Diluent volume | Concentration | Volume for 250 µg | Syringe readability |
|---|---|---|---|
| 1 mL | 10 mg/mL | 0.025 mL | Very small draw, difficult to read reliably |
| 2 mL | 5 mg/mL | 0.05 mL | More manageable, but still near the lower end |
| 3 to 5 mL | 3.33 to 2 mg/mL | 0.075 to 0.125 mL | Larger draw, generally easier to inspect |
What each choice changes
With 1 mL, the concentration is highest and the syringe draw is smallest. That can limit injection volume, but a slight plunger movement represents a larger dose change. If the line is difficult to distinguish, precision suffers.
With 2 mL, the concentration sits between the other choices. The 0.05 mL draw is still small, yet easier to inspect than 0.025 mL on many syringes. Treat 2 mL as a starting point for the math, not an automatic answer.
With 3 to 5 mL, the solution is more dilute. The example dose occupies 0.075 to 0.125 mL, giving the meniscus more room to align with a graduation. The tradeoff is a larger draw for higher doses, plus more liquid in the vial. More diluent does not automatically make a preparation safer or more accurate.
Choose the volume that places the intended dose on a clear, readable part of your actual syringe. The vial label gives the peptide amount, but the syringe determines how precisely you can draw it.
Worked Examples for Common Vial Sizes and Doses
Use the same sequence every time: convert the dose, calculate concentration, then divide the desired dose by that concentration. The examples below are arithmetic illustrations, not individualized dosing instructions.
Five practical calculations
| Vial and diluent | Target dose | Concentration | Draw volume |
|---|---|---|---|
| 5 mg with 2 mL | 250 µg, or 0.25 mg | 2.5 mg/mL | 0.10 mL |
| 10 mg with 2 mL | 500 µg, or 0.50 mg | 5 mg/mL | 0.10 mL |
| 10 mg with 3 mL | 100 µg, or 0.10 mg | About 3.33 mg/mL | About 0.03 mL |
| 15 mg with 2 mL | 300 µg, or 0.30 mg | 7.5 mg/mL | 0.04 mL |
| 2 mg with 1 mL | 50 µg, or 0.05 mg | 2 mg/mL | 0.025 mL |
The first row works like this: 5 mg ÷ 2 mL gives 2.5 mg/mL. Then 0.25 mg ÷ 2.5 mg/mL gives 0.10 mL.
For the 10 mg vial mixed with 2 mL, the concentration is 5 mg/mL. A 500 µg dose is 0.5 mg, so 0.5 ÷ 5 equals 0.10 mL.
The smaller results deserve attention. A target of 100 µg from the 10 mg vial mixed with 3 mL produces a draw of about 0.03 mL. The 2 mg vial mixed with 1 mL produces 0.025 mL for 50 µg. Those volumes may be difficult to measure consistently on a standard 1 mL insulin syringe, depending on its graduation.
Match the syringe to the calculation
A smaller 0.3 mL or 0.5 mL syringe may provide finer graduations than a 1 mL barrel, but you must confirm the actual markings on the syringe you have. Don’t assume that “units” mean the same thing across every syringe size.
If the calculated volume is too small to read confidently, don’t solve the problem by guessing at the plunger. Recalculate using a more suitable concentration and discuss the preparation with a qualified clinician or pharmacist.
Why More Diluent Isn’t Always Safer
A vial that needs a very small dose creates a practical choice. Adding more diluent spreads that dose across a larger liquid volume, making the plunger position easier to read. The tradeoff is a larger injection volume, which may exceed what your syringe can hold comfortably. Reconstitution is therefore a precision-versus-usability decision, not a fixed recipe.
Compare the final concentration with the syringe markings you use. A concentrated mixture can place the target dose below a clearly readable graduation. A dilute mixture can produce a more visible draw, yet require extra space in the barrel and more handling. Choose the volume that puts the dose on a readable mark without making the injection unnecessarily large.
Handle the vial gently
Aim the diluent stream at the vial’s inside wall instead of directly at the powder. After adding the liquid, roll or swirl the vial gently to help it dissolve. Vigorous shaking, foaming, and rough repeated handling are poor habits for fragile peptide preparations.
The vial should move like a small container of delicate material, not like a bottle you are trying to mix quickly. Keep the stopper and solution as clean as possible during each step.
Storage conditions and beyond-use timing must come from the product instructions, pharmacy, or clinician. A generic internet timeframe cannot guarantee safety for every peptide, diluent, vial, or storage condition.
Stop when the preparation looks wrong
Clarity alone does not prove that a preparation is suitable. Cloudiness, visible particles, an unexpected color change, or powder that remains undissolved are reasons to stop. Do not inject an abnormal-looking solution just to avoid wasting it.
If the appearance changes or the powder remains undissolved, set the vial aside and ask a qualified professional or the dispensing source for instructions. Guessing is not a quality-control method.
Using PepFlow’s Calculator and Scheduler to Remove the Math
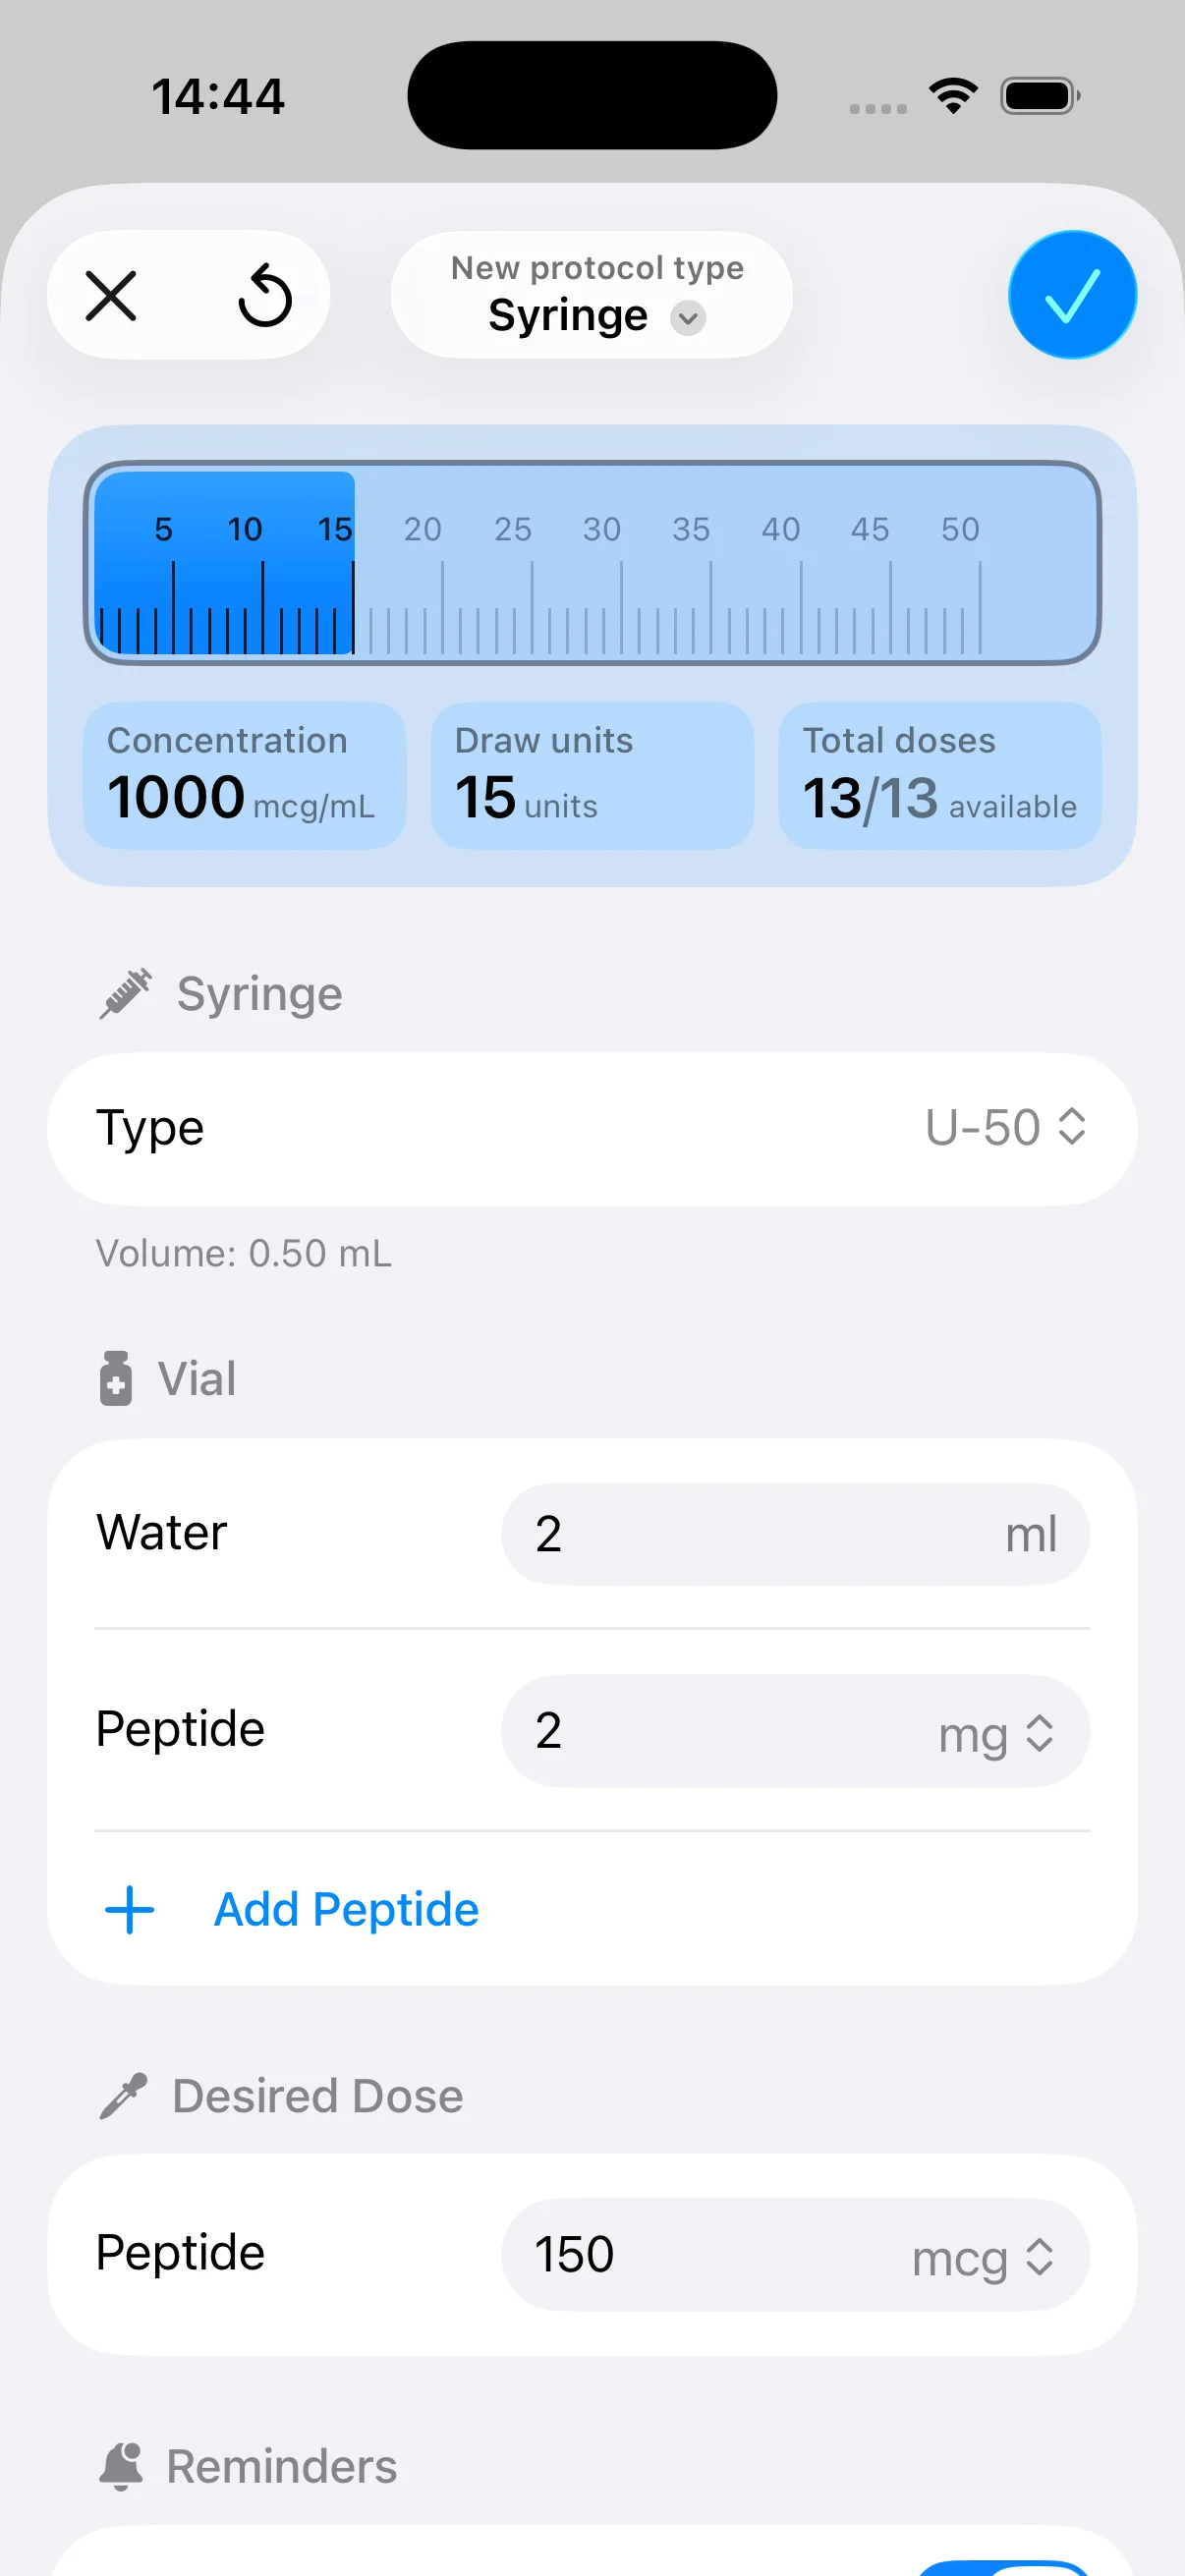
Once you understand the formulas, a calculator can reduce repeated manual division. Enter the total peptide amount, the diluent volume, and the desired dose in micrograms. The resulting concentration and draw volume give you a second check against your handwritten calculation.
PepFlow provides those inputs in a peptide dosage calculator, including the amount of bacteriostatic water added during reconstitution. You can review the PepFlow peptide calculator when you want to translate a target dose into a practical draw volume.

The useful habit is to save the vial configuration instead of redoing the calculation from memory each time. If you change the vial, diluent amount, or target dose, treat it as a new calculation and check the result before drawing.
The scheduling side addresses a different failure point. You can set a start date, dosing frequency, and pause period for a cycled routine, then use reminders, countdowns, push notifications, live activities, widgets, and dose logs to keep the plan visible. A five-day-on, two-day-off routine, for example, can be recorded as a cycle so the daily reminder and dose history follow the same configuration rather than relying on loose notes.
Quick Decision Checklist and Final Safety Notes
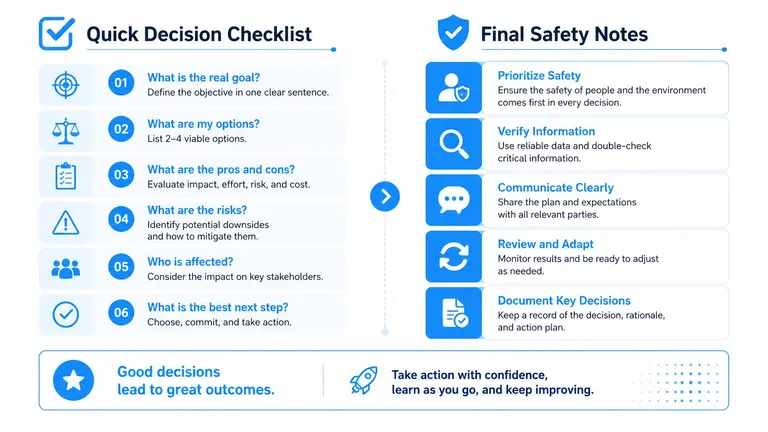
Before drawing, use the vial and syringe as one measurement system. Confirm the total peptide amount, record the chosen diluent volume, and calculate concentration by dividing total mg by total mL. Convert the target from µg to mg before finding the draw volume, then check whether the barrel shows mL, units, or both. The practical test is readability: if the calculated draw is difficult to see accurately, the volume choice may not suit that syringe.
- Inspect the solution: Do not use a cloudy or visibly contaminated preparation.
- Recheck the setup: A new vial, diluent volume, or target dose requires new math.
- Log the result: Record concentration and dose immediately after use.
The errors that most often ruin accuracy are mixing mg with µg, reading the wrong syringe scale, and adding diluent without considering the intended draw. Preparation and dosing decisions should be reviewed with a qualified clinician or pharmacist. For broader context, see exploring peptide therapy benefits. PepFlow is a planning tool, not medical advice.
If you want to practice these steps, PepFlow lets you enter vial size, reconstitution volume, and target dose to check the concentration and draw volume before you draw. Keep clinical decisions with a qualified professional.